
Snow Shovels, Grit Spreaders and Winter Path Kit for the Garden
A practical guide to keeping garden paths, steps and the route to the front door clear, gritted and altogether less likely to spoil a frosty morning.
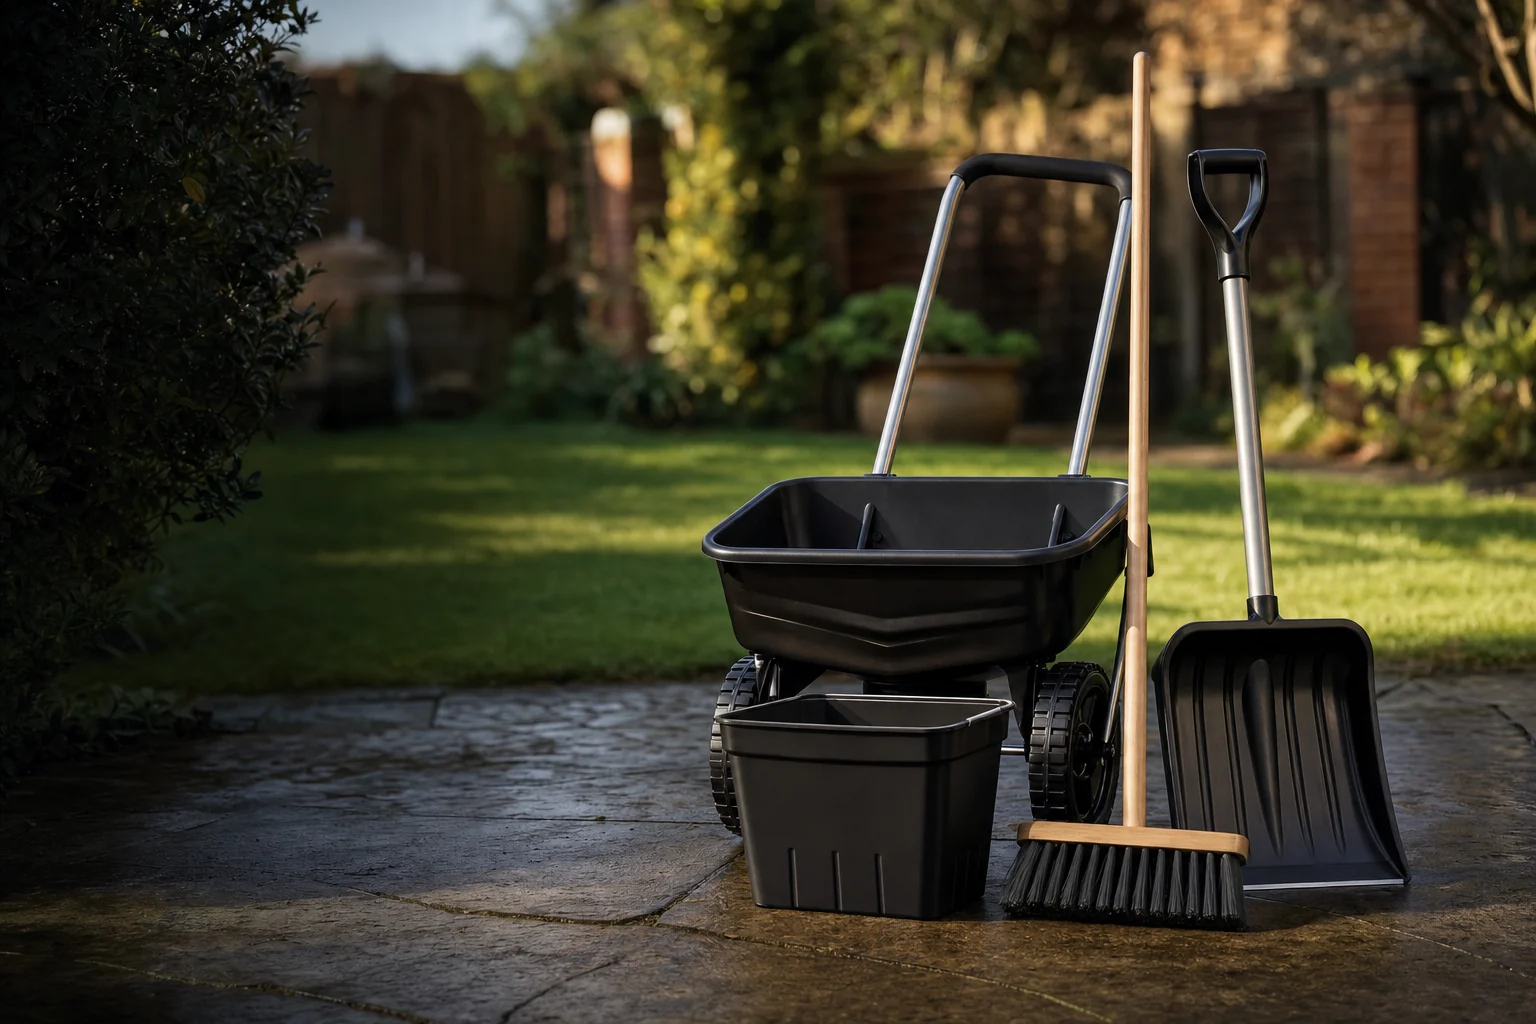
Why Winter Path Safety Matters More Than You Think
It is mid-September, which means winter kit has a peculiar habit of seeming faintly ridiculous. The garden may still have colour in it. There may be tomatoes under glass, dahlias doing their very best and a patio chair that has not quite accepted its seasonal demotion. Yet this is exactly the moment to think about icy paths.
Once the first proper frost arrives, nobody wants to be searching the shed for a shovel with a cracked handle, or discovering that the bag of salt bought two winters ago has quietly turned itself into a damp geological feature. Winter path safety is mostly unglamorous preparation. It is also one of those jobs that feels extremely satisfying when the forecast turns sharp and you are already organised.
The important routes are rarely the grand ones. They are the few metres between the kitchen door and the bin, the shaded side passage, the back step used to let the dog out before breakfast, the route to a greenhouse, and the path a visitor takes when they are carrying a parcel and looking at their phone instead of their feet. Steps deserve special attention. A level path gives you a chance to recover from a wobble; a slippery step is rather less generous.
For a domestic garden, I think of winter path care as three linked jobs: clear the loose snow, spread material evenly where it is needed, and treat the surface with a suitable de-icer before conditions become awkward. Each task needs a slightly different tool. Trying to do everything with one battered spade is possible, in the same way that eating soup with a fork is possible. It just becomes unnecessarily trying.
Start with the routes you genuinely use
You do not need to treat every last paving stone in the garden. Make a short mental map now: front door, driveway or gate, bins, outbuildings, greenhouse, compost area and the route used by anyone who may visit. Those are the places worth preparing first.
There is a practical kindness in this. Keeping access clear helps everyone who uses the garden, from family and neighbours to delivery drivers who have drawn the short straw and arrived during a sleet shower. It also means you are much less likely to put off a necessary trip outside because the paving looks like an ice rink designed by someone with a grudge.
A proper winter path kit is not about making the garden look like a council depot. It is about having sensible, manageable equipment ready before conditions force the issue. The best kit is usually stored close to the door, is easy to use in gloves and has no mystery parts requiring an engineering degree at half past seven on a dark January morning.
What's Actually in a Winter Path Kit?
"Winter path kit" is a generic descriptive term rather than a single confirmed product from one brand. Retailers bundle different combinations of tools and materials under this kind of label, so contents vary. Some bundles are deliberately compact: enough to deal with a few domestic steps, a garden path and perhaps the front threshold. Others are built around a large grit bin and a spreader, and make more sense where there is a long drive, several entrances or a shared access route.
At the simplest end, a useful kit contains a snow shovel, an ice breaker or scraper, and a hand-held salt spreader or scoop. These are the three tools most gardeners will reach for first. The shovel shifts loose snow. The ice breaker deals with stubborn patches once snow has been trodden down or thawed and refrozen. The scoop lets you apply de-icing material without tipping a heroic quantity into one unfortunate corner of the path.
A compact approach of the kind offered by some retailers, including Costcutters UK, typically includes a snow shovel, an ice breaker and a hand-held salt spreader or scoop. For lighter residential use, that is a straightforward and sensible combination. (Note: GardenScout has not been able to confirm the exact specifications of any specific model from this retailer.) There is no great ceremony to it. You have something to move snow, something to tackle compacted patches and something to distribute salt or grit around the places that matter.
A more comprehensive bundle can add a storage bin, a manual spreader and a substantial supply of de-icing material. The ESE Direct Winter Maintenance Kit is an example of the larger format. According to ESE Direct's listing, it includes a heavy-duty grit bin, a manual salt spreader with a rain cover and hopper screen, a hand salt spreader or scoop, and bags of high-purity white de-icing salt. GardenScout has not been able to independently verify the full product specifications — please check the retailer's current product page for confirmed details.
The difference between these two approaches is not that one is inherently "better". It is about scale and routine. If your main concern is a short path and a couple of steps, a shovel, scraper and hand scoop are realistic tools you will use. If you are responsible for a larger area, the convenience of dry stored salt and a spreader that covers a broad route quickly becomes much more compelling.
Snow shovel
For lifting or pushing loose snow away before it is walked into a compacted layer.
Ice breaker or scraper
For breaking up the stubborn patches a shovel cannot sensibly shift on its own.
Hand scoop or spreader
For steps, thresholds, narrow paths and selective treatment around the garden.
Manual broadcast spreader
For covering wider runs such as drives, patios and long main paths with fewer repeated journeys.
Dry storage
For keeping the de-icing material accessible and ready to use rather than buried behind pots and old compost bags.
Do not be tempted to buy a grander set-up than you can store or comfortably operate. A giant bin that blocks the side gate is not a triumph of preparedness. Nor is a broad spreader much use on a narrow winding garden path. The right kit is the one that suits your site, your storage space and the amount of clearing you can reasonably expect to do.
Snow Shovels Under the Spotlight: Blade, Material and Handle
A snow shovel is not simply a spade with a wider blade. It is designed to move a broad, shallow layer without repeatedly biting into the surface beneath. That distinction matters on paving, decking and paths, where the aim is to remove snow without turning the job into an accidental excavation project.
Recycled plastic is a common choice for lighter domestic shovels. The recycled plastic shovel in the Costcutters UK kit is a good example of the type. It offers the obvious environmental appeal of using recycled material, and plastic is generally gentler where you are working over block paving, decking or a finished path. For ordinary garden clearing, that gentler contact is useful. You are trying to clear a route, not demonstrate how much damage can be done before breakfast.
There are other blade approaches worth understanding when choosing a standalone shovel. Aluminium blades are often selected where strength is the main priority, particularly for more difficult snow. Plastic designs fitted with a steel edge are another familiar style, intended to bring a more positive scraping action at the leading edge. They can be useful where a simple plastic edge slides over stubborn snow rather than shifting it.
The trade-off is always the same: the more aggressive the edge and the more robust the blade, the more care you need around finished surfaces. It is sensible to match the shovel to the work. A soft plastic blade has obvious appeal for regularly cleared snow on a garden path. A stronger edge becomes more relevant if the snow has become compacted. The ice breaker is then often the better tool for the final resistant patches rather than asking the shovel to do a job it was never designed to enjoy.
Blade width is equally important. Standard residential snow shovels are commonly in the 40–55cm range, whilst contractor-style tools can reach 60–75cm. Wider sounds better until you meet a flight of steps, a path squeezed between borders, or a load of wet snow that feels as though it has been assembled from roofing tiles. A broad blade clears more area in an open space, but it asks more of your shoulders and gives you less control in tight corners.
| Shovel approach | Where it works well | Useful strength | Watch for |
|---|---|---|---|
| Recycled plastic | Regular clearing on garden paths, decking and paving | Gentler contact with finished surfaces | Less suited to forcing through heavily compacted snow |
| Aluminium | More demanding clearing where a stronger blade is preferred | Robust feel for firmer snow | Needs thoughtful use around delicate surfaces |
| Plastic with steel edge | Routes where a sharper leading edge is useful | More positive scraping action | Not a replacement for an ice breaker on stubborn ice |
For a standard garden path of around 90cm wide, a manageable domestic shovel is usually easier to live with than an oversized contractor-style blade. You can work in short, controlled pushes, pile snow onto a border edge where appropriate, and still turn around without clipping the fence or taking out a dormant hellebore. The narrow route is where unwieldy kit reveals its true character.
Push where you can; lift only when you need to
On a suitable level path, pushing loose snow to the side is generally kinder on your back than filling the blade and lifting every load. Keep the route clear in manageable strips and leave yourself somewhere sensible to put the snow before you begin.
Handle comfort is not an optional luxury. Cold hands, gloves and a wet surface make a poor combination for fiddly grips. Look for a handle that feels secure in your hands and lets you keep a reasonably upright stance. A tool that makes you bend too far forwards soon becomes tiresome, especially if there is more than one path to clear. There is no medal for finishing a clearing session with an aching back and a shovel left halfway across the lawn.
Before winter, inspect the shovel you already own. Check the handle connection, look for splits around the blade and make sure it is not hidden under the very items you will be trying to remove in a hurry. A small bit of organisation now is considerably more pleasant than trying to retrieve a snow shovel from behind a mower on a freezing morning.
Grit Spreaders: From Hand Scoops to Broadcast Coverage
The humble scoop is one of the least glamorous tools in the garden shed. It is also remarkably useful. With a hand-held salt spreader or scoop, you can treat the back step, a doorstep, a narrow path, the area around a gate or a shaded patch that habitually catches the worst of the frost. It is direct, controlled and easy to store.
That simplicity matters because a lot of winter treatment is local. You may not need to cover the entire patio. You may simply need to make the route to the washing line, greenhouse or compost bin less treacherous. A hand scoop lets you do this without hauling out a larger machine. It is especially handy for steps, where you can work deliberately and make sure material reaches the edge rather than rolling straight off it.
For longer routes, a manual broadcast spreader makes the work much quicker and more even. The manual salt spreader included with the ESE Direct Winter Maintenance Kit is described by the retailer as offering a substantial hopper capacity and a broad spread width. Please refer to ESE Direct's current product page to confirm the exact specifications. That is a meaningful difference when you are treating a driveway, a broad courtyard or a long path network rather than a handful of paving slabs.
The included rain cover is one of the most sensible details. British winter weather is very capable of giving you a dry spell at breakfast, drizzle at lunch and a proper soaking just as you decide to refill the spreader. Keeping material protected while it is in the hopper helps it stay workable instead of clumping together. The hopper screen has a similarly practical role, helping to keep the material moving through the spreader rather than allowing unwanted lumps to interfere with the job.
A broad spread width makes a practical difference to how you plan the route. On a 10-metre driveway, working in wide overlapping passes means far fewer journeys than with a hand scoop. With a hand scoop, you may be looking at ten or more slow, uneven passes to achieve a similar overall result. It is not that the hand scoop fails; it is simply being asked to do a job designed for something larger.
In practice, overlap is useful. Spreading in immaculate edge-to-edge stripes can leave awkward untreated seams, particularly if the path curves or the wind catches the material. A modest overlap is a more forgiving approach. It also gives you a chance to slow down around slopes, steps, drains and places where material is likely to collect.
Do not fill a hopper simply because it is there. The 25kg capacity tells you what the spreader can hold, not what every route needs. Fill an amount appropriate to the area you are treating, keep the remaining material dry in the bin, and use the hand scoop for fiddly locations. It is a calmer, more controllable way to work.
There is also a small but important cleaning routine. Once you have finished, empty any remaining material from the spreader where practical, brush off residue and store the machine dry. The point of a rain cover is to protect material while you are working; it does not make a spreader invincible if it is left outdoors for months beside the compost heap.
Grit Bins and Salt Storage: Why 200 Litres Changes the Routine
The boringly brilliant part of a larger winter kit is the grit bin. It is not exciting. Nobody is likely to stop at the garden gate and admire it. But having de-icing material stored close to where it is needed removes the main reason people fail to use it: they cannot find it when the weather turns.
The ESE Direct Winter Maintenance Kit includes a heavy-duty 200-litre grit bin. That is serious storage for a domestic setting, and it makes particular sense for larger gardens, shared drives, small commercial premises or homes where several paths and entrances need attention. It provides a dry, obvious home for the kit's ten 15kg bags of high-purity white de-icing salt.
A dedicated bin means de-icing material need not remain in a damp corner of the garage, where bags are easily punctured, forgotten or stacked behind something more immediately interesting. If you have ever tipped an old bag of de-icer only to find that it has become one large, resentful lump, you will understand the appeal of dry storage.
What "without hopper" means: the 200-litre bin is a lidded storage container rather than a bin with an integrated dispensing mechanism. The separate hand scoop or manual spreader is used to take out and apply the material.
That simple arrangement has advantages. The bin can be positioned where access is easy, whilst the spreader can be brought out only when needed. It also makes the contents easier to manage. You can scoop a small amount for steps, fill the manual spreader for a longer route, then close the lid and leave the rest protected.
Placement deserves a little thought. A grit bin is most useful near the route you treat first, not tucked at the far end of the garden beyond the very icy path it is intended to solve. Near a front gate, garage, back door or main path junction is usually sensible. Keep it accessible without blocking a gate, restricting a path or creating another obstacle to walk around in the dark.
Make the bin part of the winter routine
Keep the hand scoop with the bin, and store the shovel and ice breaker nearby if you have room. When snow arrives, you want a single obvious place to collect what you need, rather than conducting a frosty scavenger hunt through the shed.
A label can help if more than one person uses the garden. It need not be anything elaborate. "Path salt", "scoop here" or simply a reminder to close the lid after use can prevent the bin becoming a general-purpose dumping ground for gloves, tools and half-empty bags of compost. Winter equipment is at its best when it remains boringly predictable.
If your needs are modest, a large bin may be more than you require. A small, dry storage arrangement and a hand scoop can still be entirely effective for a short domestic route. The real lesson is not that everyone needs 200 litres of capacity. It is that dry, visible, dedicated storage makes it far more likely that you will use your de-icer at the right moment.
Rock Salt vs Eco De-Icers: A More Garden-Friendly Choice
Gardeners are naturally suspicious of anything spread over a path that might later wash into a border. That instinct is sound. Traditional rock salt is familiar, readily understood and effective as a de-icing material, but it is not a substance to scatter carelessly around plants, lawns, drains or garden edges.
The ESE Direct kit includes high-purity white de-icing salt. High-purity salt is a more refined material than lower-grade grit mixes containing clay and mineral impurities. That can be useful where you want a cleaner material for a path or entrance. It still deserves a measured approach. More is not automatically better, and a garden path does not need to look as though it has been dusted for a theatrical snow scene.
For gardeners looking to reduce reliance on traditional rock salt, eco de-icers are worth considering. ECO GRIT is marketed as a safer, more sustainable alternative to conventional rock salt. It can be spread evenly over icy or snowy surfaces using either a shovel or spreader. That is appealing in a garden setting, where the goal is safe access with the least unnecessary residue around planting areas.
The sensible choice depends on your site. If your main route is a broad drive well away from borders, you may be comfortable using a conventional de-icing salt carefully. If paths run beside lawn edges, raised beds, clipped hedges or containers, an eco-focused alternative may be a better fit for your gardening priorities. Neither route removes the need for restraint and tidy application.
Why gardeners consider eco de-icers
- They are positioned as a safer, more sustainable alternative to traditional rock salt.
- They can be applied with a shovel or spreader.
- They are designed to offer broad coverage while using less product.
- They suit gardeners who want a more considered approach around paths and planting.
Where care is still needed
- Any de-icing material should be directed onto the walking surface, not casually thrown into borders.
- Loose material on steps can be carried indoors on footwear.
- Over-application creates waste and makes later clean-up more tiresome.
- A de-icer is only one part of safety; loose snow and compacted ice still need clearing.
| Option | What it is useful for | Garden-minded approach | Application tool |
|---|---|---|---|
| High-purity white de-icing salt | Routine treatment of paths, entrances and larger hard surfaces | Apply carefully and keep it focused on the walking route | Hand scoop or manual spreader |
| ECO GRIT | Gardeners seeking a more sustainable alternative | Use its coverage efficiently rather than applying excess material | Shovel or spreader |
| Mechanical clearing first | Loose snow and compacted patches | Reduces the amount of treatment needed afterwards | Snow shovel and ice breaker |
Whichever material you choose, do not overlook the value of clearing first. A shovel removes the bulk of the problem. An ice breaker tackles persistent patches. The de-icer then works on the remaining surface, rather than being asked to disappear beneath a thick layer of snow. This is usually cleaner, more economical and much less frustrating.
It also pays to observe your garden after a thaw. Where does meltwater travel? Does it run across the path from a slope, drip from a roof edge or pool by a gate? These are the places where repeat freezing will catch you out. De-icing material is helpful, but fixing a small drainage issue or changing where a downpipe discharges can sometimes remove the recurring cause altogether. The garden has a way of revealing its weak points in winter. It is not always subtle about it.
Step-by-Step: How to Use Your Winter Path Kit Effectively
Having the right tools is only half the job. The useful difference comes from using them in the right order and at the right time. A bag of salt in a bin is not much help if it is opened after the path has already become compacted, polished and unpleasantly slippery.
Stage one: prepare before the weather turns
Check the forecast, but also check the garden. Clear fallen leaves from the priority paths now, whilst September still gives you reasonable working weather. Wet leaves under frost are no friend to anyone. Move empty pots, hose reels, toys and decorative obstacles off the main route. It is surprising how quickly an innocent terracotta pot becomes a trip hazard once it is wearing a small hat of snow.
Put the shovel, scraper, scoop and gloves together in their chosen location. Make sure the grit bin lid opens easily. If you use a manual spreader, inspect the hopper, rain cover and screen before there is any urgency. The point is to make the first frosty evening feel routine rather than slightly theatrical.
Stage two: treat priority surfaces preventatively
When frost is forecast, apply a light, even layer of your chosen material to the routes you expect to use. Focus on steps, slopes, shaded paths and the stretch immediately outside doors. With a hand scoop, work slowly and deliberately. With a broadcast spreader, make steady passes with a little overlap rather than rushing and leaving untreated strips.
Preventative treatment is useful because it tackles the path before ice has a chance to bond firmly to the surface. It is far easier to manage a lightly treated route than to fight with ice after it has been walked on repeatedly. If you only remember one point from this guide, let it be this: winter path work is much easier before everyone has already been out and back several times.
Watch wet weather closely
Rain, sleet and later freezing conditions are often more troublesome than a clean, dry frost. Review the main route when conditions change.
Prioritise shade and slopes
These areas tend to hold onto cold conditions longest, especially where meltwater crosses the path.
Keep application measured
Even coverage matters more than dumping a large amount in one place. Treat the walking line, not the whole garden.
Stage three: clear fresh snow promptly
Fresh snow is the moment for the shovel. Start before it has been compressed by feet, tyres or wheelie bins. Work from the centre of the path outwards, moving snow towards a sensible edge rather than simply pushing it further along the route. Clearing lengthways often creates a growing ridge at the end, which then has to be shifted anyway. It is winter's version of moving the washing pile from chair to chair.
Take care where you place snow. Do not heap it against a gate you will need to open, across a drain, directly onto low plants or at the bottom of a slope where thawing water will promptly cross the path again. If the garden is small, make modest piles at the least troublesome edge and keep the route broad enough for comfortable passage.
Stage four: break up compacted patches
Once the loose snow is removed, assess what remains. If there are compacted or icy areas, bring in the ice breaker or scraper. This is slower work, but it is more precise than trying to ram the shovel edge into an icy patch. Work in controlled strokes and avoid treating every surface as though it were a quarry.
After breaking the surface, sweep or shovel away the loosened material where possible. Then apply a light, even layer of de-icer. The combination is more effective than treating an untouched sheet of ice and hoping for the best.
Do a final footwear check
Before declaring the route safe, walk it carefully in suitable footwear. You are looking for the awkward places: the final step, the threshold where water drips, the shaded corner by the fence and the bit everyone cuts across instead of following the path.
Stage five: revisit after thaw and refreeze
The first clear route is not always the final clear route. Meltwater can refreeze after sunset, especially around drains, downpipes and shaded corners. A quick evening check is often worth doing if the temperature is due to fall again. Keep the scoop close to hand for these small touch-ups; there is no need to stage a full winter operation for one slippery patch by the shed.
Looking After Tools, Paths and Planting Through Winter
Winter tools tend to be neglected precisely because they are seasonal. They are used intensively for a day or two, then pushed into a corner wet and salty until the next cold spell. A small amount of care makes a great difference to how pleasant they are to use next time.
After clearing snow, brush loose debris from the shovel and ice breaker. Let them dry before storing them if possible. For a spreader, remove leftover material from the hopper where practical, check the screen is clear and put the rain cover away dry. The goal is to avoid finding a stiff, clogged tool when the forecast changes overnight.
Your paths deserve a brief inspection too. Winter makes existing faults more obvious. Loose paving, a raised edging brick, a cracked step, algae on a shaded route and poor drainage all become more significant when temperatures fall. September and October are useful months for putting right the easy things: resetting a loose paver, moving a pot, clearing a channel, cutting back foliage that flops onto the path and improving the line of sight around a bend.
Think about vegetation as part of the safety plan. Overhanging evergreen branches can drip onto a path. Long grass can hide the path edge. Perennials that collapse in wet weather can narrow a route when you are carrying a bin bag or pushing a wheelbarrow. There is no need to strip the garden bare, but a clear walking line is a practical benefit of a gentle autumn tidy.
Protect the garden as you work: keep piles of cleared snow and loose de-icing material away from the crowns of plants where possible. Clear a route thoughtfully, rather than simply pushing everything into the nearest border.
Decking warrants a particularly careful approach. Its surface can be slippery in damp conditions even before frost arrives, and an aggressive tool edge may not be the answer. Clear loose snow with a method suited to the surface, work steadily and avoid treating the job as a race. The same goes for decorative paving, gravel paths and old stone steps. Every surface has its own personality. Some are forgiving; others hold a grudge for decades.
Come next spring, empty and clean the grit bin if there is material left, assess what you used and make a note of problem areas. Perhaps the side path needed more attention than expected. Perhaps the broad spreader transformed the driveway but the hand scoop was all you used around the back door. Those observations make next autumn's preparation far more accurate.
This is also a good time to decide whether the current kit matches your reality. A compact shovel, ice breaker and scoop can be entirely sufficient for many homes. If you repeatedly treat larger areas, however, a bin-and-spreader arrangement may save a great deal of effort. The garden is usually honest about what it needs. We simply have to notice before the next cold snap arrives.
Choosing the Right Winter Kit for Your Garden
The ideal winter path kit is not necessarily the largest one. It is the one that gets used. A small urban garden with a front step and a short path may need nothing more elaborate than a recycled plastic snow shovel, an ice breaker and a hand scoop. That compact set covers the essential jobs without demanding much storage space.
A larger home, a long driveway, a shared approach or several regularly used paths is where the broader kit format becomes attractive. A larger kit of the type offered by ESE Direct, with a sizeable grit bin, a manual spreader and a substantial supply of white de-icing salt, is designed around readiness at that larger scale. A broad spreader is especially useful where the route is wide enough to make full use of it. Please check the retailer's current product page for confirmed specifications.
Before choosing, walk your priority route with a tape measure if necessary. Notice bottlenecks, gates, bends and steps. A very wide shovel or spreader may be impressive in an open drive but frustrating in a narrow side passage. Conversely, treating a long drive with a hand scoop can become a repetitive chore surprisingly quickly.
Compact tool kit suits
- Short garden paths and a small number of steps.
- Homes with limited storage space.
- Gardeners who need targeted, occasional treatment.
- Those who prefer straightforward tools with no larger storage bin.
Larger maintenance kit suits
- Longer paths, broad patios and driveways.
- Homes where several routes need repeated attention.
- Shared or professional-leaning premises needing ready supplies.
- Anyone who values dry, dedicated storage and wider broadcast coverage.
It is worth considering who will use the equipment, too. If a tool is heavy, awkward or intimidating, it tends to remain untouched. Choose a shovel with a manageable blade, a scoop that can be used comfortably in gloves and a spreader only if the garden has the open space to justify it. A sensible, modest set-up used promptly will beat an elaborate collection used reluctantly every time.
Finally, do not wait for deep winter to decide. September is ideal for clearing space in the shed, choosing a position for a grit bin and making sure the main path is free of clutter. October and November are sensible times to keep an eye on forecasts and move the tools closer to the door. By the time frost is a regular visitor, you want the whole thing to feel almost boring. That is success.
Winter Path Kit Questions Answered
They do different jobs. A shovel is for moving loose snow efficiently. An ice breaker or scraper is for the compacted, stubborn patches left behind after snow has been walked on or refrozen. A compact kit containing both is more versatile than relying on one tool for everything.
A hand scoop is excellent for steps, thresholds, narrow paths and small targeted areas. It is also a useful companion to a larger spreader. For long drives or broad paths, a manual broadcast spreader is quicker and better suited to even, repeated coverage.
Winter weather is often wet as well as cold. A rain cover helps protect material in the hopper while you work, reducing the chance of it becoming damp and clumped before it can be spread evenly.
It provides dedicated storage for de-icing material, keeping it easy to find and ready for use. In the ESE Direct kit, the bin accompanies a supply of high-purity white de-icing salt and separate tools for dispensing and spreading it. Please check the ESE Direct product page for confirmed contents and quantities.
They are a strong option for gardeners who want a more sustainable alternative to traditional rock salt. ECO GRIT is marketed as being spread by shovel or spreader and is described by its manufacturer as providing broad coverage.
GardenScout's final word
A good winter path kit is about calm preparation rather than heroic snow clearance. For lighter domestic use, a recycled plastic shovel, ice breaker and hand scoop cover the essential tasks neatly. For larger routes, a 200-litre grit bin, 25kg manual spreader with rain cover and hopper screen, plus a substantial supply of de-icing material, make winter treatment far more manageable. Clear snow early, treat the routes that matter and keep every tool where you can reach it without drama. Your future, slightly chilly self will be very grateful.