
Cold-Weather Composting: Keeping Your Heap Working Through Winter
Insulate the heap, disturb it less, feed the microbes properly and give yourself a useful pile of compost when spring finally gets moving.
Why Winter Doesn't Have to Mean a Dead Heap
It is late September, which means the garden is beginning its annual sleight of hand. One week you are collecting courgettes and wondering why the runner beans have decided to become a hedge. The next, leaves are gathering in every corner, mornings have a proper chill to them, and the compost heap has become something you mean to deal with "before the weather turns".
Here is the reassuring bit: winter does not switch composting off. It slows it down. Quite dramatically at times, certainly, but the heap is not a dormant lump of garden rubbish waiting for a calendar invitation. It remains a living system of bacteria, fungi, small invertebrates and decomposing material. Your job through the colder months is not to force it into a summer sprint. It is to stop it becoming cold, soaked, airless and thoroughly fed up.
The familiar claim that composting stops below 10°C is only half true, and therefore exactly the sort of gardening saying that causes unnecessary panic. Activity is slower below that point, but microbes do not vanish. Mesophilic bacteria, the ordinary workhorses of a well-managed heap, are active across roughly 10–40°C. Thermophilic bacteria are the heat-lovers, thriving at around 40–65°C. In summer, especially in a generous heap with plenty of nitrogen-rich material, it is possible to pass through both groups quickly.
In winter, the realistic aim is more modest and much more useful: protect enough warmth and moisture for the heap to remain in, or regularly return to, the mesophilic range. A heap that keeps quietly ticking along at a moderate internal temperature will make far better progress than one repeatedly chilled by rain, opened every few days for enthusiastic turning, then left exposed to the next cold snap.
The winter composting promise
Start preparing now, while autumn leaves and garden clear-ups are plentiful. With sensible insulation, balanced feeding and patient turning, a heap can produce finished or near-finished compost by late March or early April in many parts of the UK. It may not be the neatest, blackest compost you have ever seen, but it can be perfectly useful for mulching borders, enriching beds and starting the next heap.
This matters because spring is when compost becomes genuinely useful. You want it when the vegetable beds need a top-up, when roses and shrubs are waking, when containers are being emptied and refilled, and when every bag of bought compost seems to disappear before you have got halfway down the garden. Having a mound of workable homemade compost waiting is one of those small victories that makes you feel unusually organised. Enjoy it. They do not come along every day.
The timing is good, too. October and November bring the raw materials winter heaps need most: carbon-rich leaves, hedge trimmings, spent annuals, kitchen peelings and the odd final cut of grass. Build the structure now. Add a lid or cover before prolonged rain arrives. Store dry browns nearby. Then let the heap do the slow, slightly mysterious work it has been doing for far longer than any of us have been standing beside it with a fork.
The Science of the Slow Burn: What Happens to Microbes Below 10°C
A compost heap is often described as a miniature ecosystem, which can sound rather grand for a collection of cabbage leaves and cardboard. But it is accurate. Every handful contains countless organisms breaking down plant material, consuming available nitrogen and carbon, using oxygen, producing carbon dioxide and releasing heat as a by-product of their work.
That heat is not supplied by magic, nor by the black plastic sides of a bin alone. It is microbial metabolism. The trick in winter is that a heap has to generate enough heat, and lose it slowly enough, for its own activity to remain worthwhile.
There are three broad temperature zones worth understanding. They overlap in real heaps and are not neat compartments, but they are a useful way to think about what is happening inside your bin or bay.
Psychrophilic microbes are adapted to cold conditions. They can continue working close to 0°C, although their metabolic rate is low. This is the group that keeps a heap from being entirely lifeless through a cold British winter. Some species of Pseudomonas and certain Bacillus species are among the organisms able to remain active in chilly material, slowly processing what they can.
As the heap warms into the mesophilic zone, activity becomes much more obvious. Mesophilic bacteria multiply quickly when the blend contains enough food, oxygen and moisture. Their work produces further heat, which encourages more activity. That feedback loop is why a fresh, well-built heap can suddenly feel warm in the middle even when the garden around it feels distinctly miserable.
Thermophilic activity is the spectacular stage gardeners often talk about. It is where the heap feels hot, steam may rise when it is opened, and rapid decomposition takes place. You can achieve this in winter in a large, insulated and well-fed heap, but it should not be treated as the only measure of success. A domestic pile that stays gently active is doing useful work. Do not write it off because it has failed to impersonate a volcano.
Think in gradients, not absolutes. The outer 10–20 cm of a winter heap may be cold whilst the middle remains active. A thermometer can be interesting, but your senses are equally valuable: a warmer centre, a faint earthy smell and materials gradually losing their original shape all suggest that decomposition is continuing.
The reason cold slows everything so visibly is often explained by the Q10 rule. In biological systems, a drop of 10°C commonly reduces the rate of biological activity by about half. Put another way, a heap at 5°C can decompose roughly four times more slowly than one at 25°C. That is why the pile which seemed to vanish almost overnight in June can look remarkably unchanged in January.
That slowdown is not failure. It is simply the season. The smart response is not to keep poking and prodding the heap in the hope of making it behave like July. Instead, give the microbes the conditions they need, then leave them enough peace to work.
Microbial diversity is your insurance policy. A heap containing different textures and materials will support a wider range of decomposers than one made solely from grass clippings or kitchen scraps. Leaves, woody stems, vegetable peelings, coffee grounds, cardboard and soft prunings all break down at different speeds. That can feel inconvenient when you are trying to make tidy compost, but it is useful in winter. There is always something available for some organism to work on.
It is also why the centre of an older heap can contain rough twigs, recognisable leaves and pockets of lovely crumbly compost all at once. Composting is not a production line. It is a crowded, slow-moving negotiation between materials, moisture, air and temperature. The heap will be much happier if you stop asking it to be uniform.
Building Your Winter Fortress: Insulation Materials and Techniques
If you only make one change to your composting routine this autumn, make it insulation. Not because you need to turn the heap into a luxury spa for bacteria, although they would presumably appreciate the gesture. Insulation simply gives the heat already being produced somewhere to stay.
A well-insulated heap of at least 1 cubic metre can self-heat to around 20–30°C internally even when the air temperature is -5°C. That warmth comes from microbial activity alone. The larger volume matters because small piles lose heat from their surface much faster than they can generate it. A modest plastic bin can still work through winter, but it needs more protection and more realistic expectations than a substantial bay full of autumn material.
Start with the simplest improvements
A lid is the first line of defence. It keeps out rain, reduces heat loss and prevents the top layer from becoming a dense, cold sponge. A lid does not have to be glamorous. A properly fitted bin lid is ideal; on an open bay, a heavy-duty polythene sheet or tarpaulin, weighted securely at the edges, is a practical answer. Keep the cover slightly raised or angled where possible so that water runs away rather than collecting in a sagging puddle above the heap.
Next, reduce exposure. If your bin sits in an open, windy corner, moving it against a fence, hedge or wall can help. A sheltered site is not only warmer; it is less drying. Cold wind can steal moisture surprisingly quickly from the top and sides of a heap, particularly from an open timber bay.
Cover from above
Use a fitted lid, tarpaulin or heavy-duty polythene sheet to stop persistent rain turning the heap anaerobic. Secure the edges so wind cannot turn your compost cover into a garden sail.
Build a thick outer jacket
Leaves, straw, old hessian and spare compost bags filled with dry material can all reduce heat loss around the outside of a bin or bay.
Keep the working mass together
A large heap holds warmth more effectively than scattered little piles. Consolidate loose material into one active heap before the coldest period arrives.
Lift it from wet ground
A raised base of pallets or wooden slats helps air move beneath the heap and reduces moisture wicking upward from saturated soil.
Straw bales: the allotment classic
For an open compost bay, straw bales are one of the most effective and reassuringly low-tech forms of insulation. Stack them around the sides of the bay, leaving access at the front. A bale layer has an insulating value roughly equivalent to R-3 to R-4, which is a significant barrier against winter chill. The straw also creates a sheltered pocket around the heap, reducing wind exposure.
This approach is especially good for allotments, where a large heap is common and a few temporary bales do not look out of place. It is less appealing in a neat patio garden, unless you are determined to create a very particular rustic aesthetic. There is no judgement here. Gardening has room for all of us, including people who own matching storage boxes.
Keep straw dry where possible and watch for rodents if you are using it around a bin containing kitchen scraps. Straw itself is not an invitation to pests, but warm, sheltered corners and food waste can be an attractive combination. A secure bin, sensible feeding and no cooked food or meat scraps will avoid most trouble.
Cardboard: useful, cheap and temporary
Corrugated cardboard is one of the handiest materials in winter composting because it performs two jobs. Wrapped around the outside of a bin, it acts as a modest insulating layer. Added inside, torn or shredded, it is a valuable dry carbon source that absorbs excess moisture and creates tiny air spaces.
Composting educators at Cornell University have suggested that double-layering corrugated cardboard around the exterior can reduce heat loss by around 15–20%. It will not last forever in British weather, of course. Cardboard exposed to rain becomes cardboard porridge with alarming speed. Protect it beneath a waterproof outer cover, replace it as needed and treat it as seasonal insulation rather than permanent infrastructure.
Insulate the sides, not the airflow
Do not seal every opening so thoroughly that the heap becomes airless. Composting microbes need oxygen. Cover the top, shelter the sides and retain warmth, but leave enough room for air to move through the material. A warm, sour, oxygen-starved heap is not the goal.
Old rugs, fleece, bubble wrap and insulated panels are sometimes used around bins. They can work as an outer jacket, but anything non-biodegradable should stay outside the compost, remain dry and be secured safely. Avoid lining the inside of a bin with impermeable material that prevents air circulation or traps leachate. Compost needs to breathe. It is not a packed lunch.
Feed It Right: The Winter Feedstock Formula
Winter composting is less forgiving than summer composting because the microbes have less warmth to spare. A very wet, nitrogen-heavy heap can turn slimy and sour. A heap built almost entirely from dry leaves can sit there with all the enthusiasm of a queue at the Post Office. The answer is balance.
Aim for an overall carbon-to-nitrogen ratio of around 25:1 to 30:1. That is slightly more carbon-rich than many fast summer mixes. The added carbon helps keep the structure open, gives the heap a useful store of dry material and reduces the ammonia losses that can happen when a heap contains too much nitrogen-rich green material.
You do not need to calculate every peel and leaf with laboratory precision. Nobody wants an evening spreadsheet involving banana skins. Instead, learn the broad categories and layer them sensibly: a bucket of kitchen scraps gets a generous scatter of shredded cardboard or leaves; a bag of grass clippings gets mixed with a coarser brown material; a large autumn leaf drop receives occasional nitrogen-rich additions to keep it moving.
| Material | Role in the heap | Approximate C:N ratio | Best winter use |
|---|---|---|---|
| Spent coffee grounds | Nitrogen-rich "green" | About 20:1 | Mix through dry leaves or cardboard in modest layers. |
| Fruit and vegetable peelings | Nitrogen-rich "green" | Varies | Bury in the centre of the heap and cover with browns. |
| Autumn leaves | Carbon-rich "brown" | About 50:1 | Store dry beside the bin and use little and often. |
| Straw | Carbon-rich "brown" | About 80:1 | Useful for insulation and for loosening wet material. |
| Shredded cardboard | Carbon-rich "brown" | About 350:1 | Excellent for absorbing wet kitchen waste and creating air gaps. |
| Wood chip | Very carbon-rich "brown" | About 400:1 | Add sparingly for structure; it breaks down slowly. |
Kitchen scraps are particularly valuable at this time of year because they arrive steadily, are relatively moist and contain accessible nitrogen. Fruit and vegetable peelings, tea bags where the bag itself is suitable for composting, and coffee grounds are all useful additions. Coffee grounds are frequently called a "green" in composting language despite being brown in colour. Compost is full of these little opportunities for confusion.
Add kitchen waste in the centre of the heap where it is warmest, then cover it with browns. This discourages flies during mild spells, makes the material less attractive to wildlife and gives microbes a better environment than a cold, wet layer sitting on top.
Fresh lawn clippings are also excellent nitrogen sources if you are still mowing. By October, lawns are often producing rather less material, and by winter you may have none at all. Use them when available, but do not build a winter plan that depends on them. A thick clump of grass can compact into a slimy mat, especially in cold wet weather, so always mix it with leaves, shredded cardboard, straw or coarse plant stems.
Make a brown bin beside the compost bin. A lidded container, dry sack or sheltered crate full of shredded cardboard and leaves is one of the best winter composting tools you can own. Every time you add wet scraps, add a handful or two of dry browns. It is a small habit with an outsized effect.
Why autumn leaves are winter gold
Leaves collected in October and November are ideal winter material. Dry leaves add bulk, absorb moisture, maintain air pockets and offer a slower carbon source for the season ahead. If you have enough, keep some separate for leafmould as well. Leafmould is not the same as compost: it is made mostly by fungi and takes longer, but it is glorious as a soil conditioner and mulch.
The practical compromise is to save the best clean leaf haul for a separate leafmould pile and use the rest as compost browns. Shred them with a mower if you can; smaller pieces decompose more readily and are less inclined to form a waterproof duvet layer. Whole leaves are still useful, particularly when mixed with kitchen scraps and rough material, but they take their time. Trees are not known for rushing anything.
Woody material deserves a measured approach. Small twiggy prunings and wood chip improve structure, but they are high in carbon and slow to decompose. Too much can make a heap dry, cool and sluggish. Use coarse material as a structural ingredient rather than the bulk of the pile. If you have large quantities of branches from pruning, chip them, use them as a path mulch or create a separate wildlife pile rather than expecting the compost heap to swallow the lot by Easter.
The Turning Dilemma: How Often Is Too Often in the Cold?
Turning compost is one of those gardening jobs that invites overconfidence. It feels satisfyingly productive. You put a fork in, lift a steaming clump, feel faintly heroic and emerge with mud on your boots and an excellent reason to make tea.
In summer, frequent turning can speed decomposition by restoring oxygen and mixing materials. In winter, the calculation changes. Every turn releases stored heat, disrupts the warmer centre and exposes material to cold air. If you turn too often, you can repeatedly reset the very conditions you have worked to create.
The practical recommendation is to turn a winter heap no more than once every three to four weeks. That is much less frequent than the once-every-one-to-two-week rhythm often suggested for active summer composting. The gap gives microbial activity time to rebuild heat and lets the pile settle into a stable pattern.
After turning, a winter heap generally needs around 48–72 hours to rebuild enough microbial activity to return to its earlier temperature. During that recovery period, it is most vulnerable to cold weather. If a sharp frost is forecast, postpone the turn. There is no prize for aerating a heap on the one afternoon the weather has decided to be hostile.
There are exceptions. If the heap smells sour, has become visibly waterlogged or contains a dense, slimy mass of material, it needs intervention sooner. But even then, aim for a partial turn rather than an elaborate full excavation. Pull out the wettest clumps, mix in dry carbon-rich material, loosen compacted layers and rebuild the heap without spreading everything across the ground for an hour.
How to turn with minimal heat loss
- Choose a dry, relatively mild day where possible.
- Have dry leaves, shredded cardboard or straw ready before you begin.
- Work briskly, keeping the warm central material together rather than scattering it.
- Move cooler outer material towards the middle and place warmer central material around it.
- Add browns wherever the material looks wet, dense or glossy.
- Re-cover the heap immediately once it is rebuilt.
If your bin is small and awkward to turn, do not feel you must empty the whole thing. An aerator tool, stout stick or fork can be used to make several vertical channels through the pile. This is less effective than a proper turn, but it introduces some oxygen without stripping the heap of all its stored warmth. For a winter bin that is broadly healthy, that may be all it needs.
The "do less, but better" winter rule
Turn because the heap needs oxygen, because you are mixing in a large quantity of fresh material, or because there is a clear moisture problem. Do not turn merely because the calendar says it is time. In winter, patience is a composting skill.
It is worth remembering that some perfectly good compost systems are rarely turned at all. They work more slowly, and the finished material is less uniform, but they still produce compost. A winter heap does not need constant management; it needs sound conditions. For many busy gardeners, this is excellent news.
Moisture Mastery: The Goldilocks Zone When It's Freezing
Water is essential to composting, but winter gives it a rather theatrical range of roles. It can arrive as days of rain, sit in the heap until everything smells unpleasant, freeze into solid layers, then disappear from exposed surfaces under cold wind. The compost heap, like most things in the garden, is happiest in the middle.
Aim for a moisture content of roughly 40–60%. In practice, use the wrung-sponge test. Take a handful from the middle of the pile and squeeze it hard. It should feel clearly damp, and perhaps release only a few drops. If water streams out, it is too wet. If it feels dusty, papery or completely dry, it needs moisture.
Waterlogging is the more common British winter problem. Rain runs into open bays, water drains slowly through cold material, and compacted kitchen waste can block the air spaces that should let the heap breathe. Without oxygen, the balance shifts towards anaerobic decomposition, which is slower and produces the familiar sour or rotten smell.
Preventing that starts with a cover. A well-fitted lid is ideal. Open bays should be covered with a tarpaulin or heavy-duty polythene sheet, weighted around the edges. Keep enough of a gap for air to enter, particularly at the lower sides, but do not leave the whole surface open to the weather.
A raised base helps as well. Pallets, wooden slats or another free-draining structure stop the bottom of the heap sitting directly in sodden ground. They also improve aeration from underneath. If you use pallets, check they are sound and keep the gaps small enough that compost is not simply dropping through them.
Do not add water automatically. A slow winter heap is not necessarily a dry heap. Check a handful from the middle before reaching for the watering can. In many UK gardens, the better response is dry cardboard or leaves, not extra water.
Frost creates the opposite problem. The surface may become frozen or dry whilst the centre remains slightly damp and alive. Do not pour warm water into a frozen heap in the hope of reviving it. Wait for a thaw, then assess it. If the interior is genuinely dry, add moisture gradually as you rebuild or lightly turn the pile. A few damp kitchen scraps may be all it needs.
Cold wind can be surprisingly drying, particularly for heaps in exposed gardens and allotments. If the top layer is constantly dry and pale, improve the cover and add a layer of leaves or straw. Again, the goal is steady conditions, not heroic intervention.
Choosing a Winter Composting Setup for a UK Garden
There is no single perfect composting system for winter. A large wooden bay suits one garden; a compact insulated bin suits another; a standard council-style plastic bin can be made much more capable with a little care. The best choice is the one you will actually fill, cover and maintain when it is drizzling sideways in January.
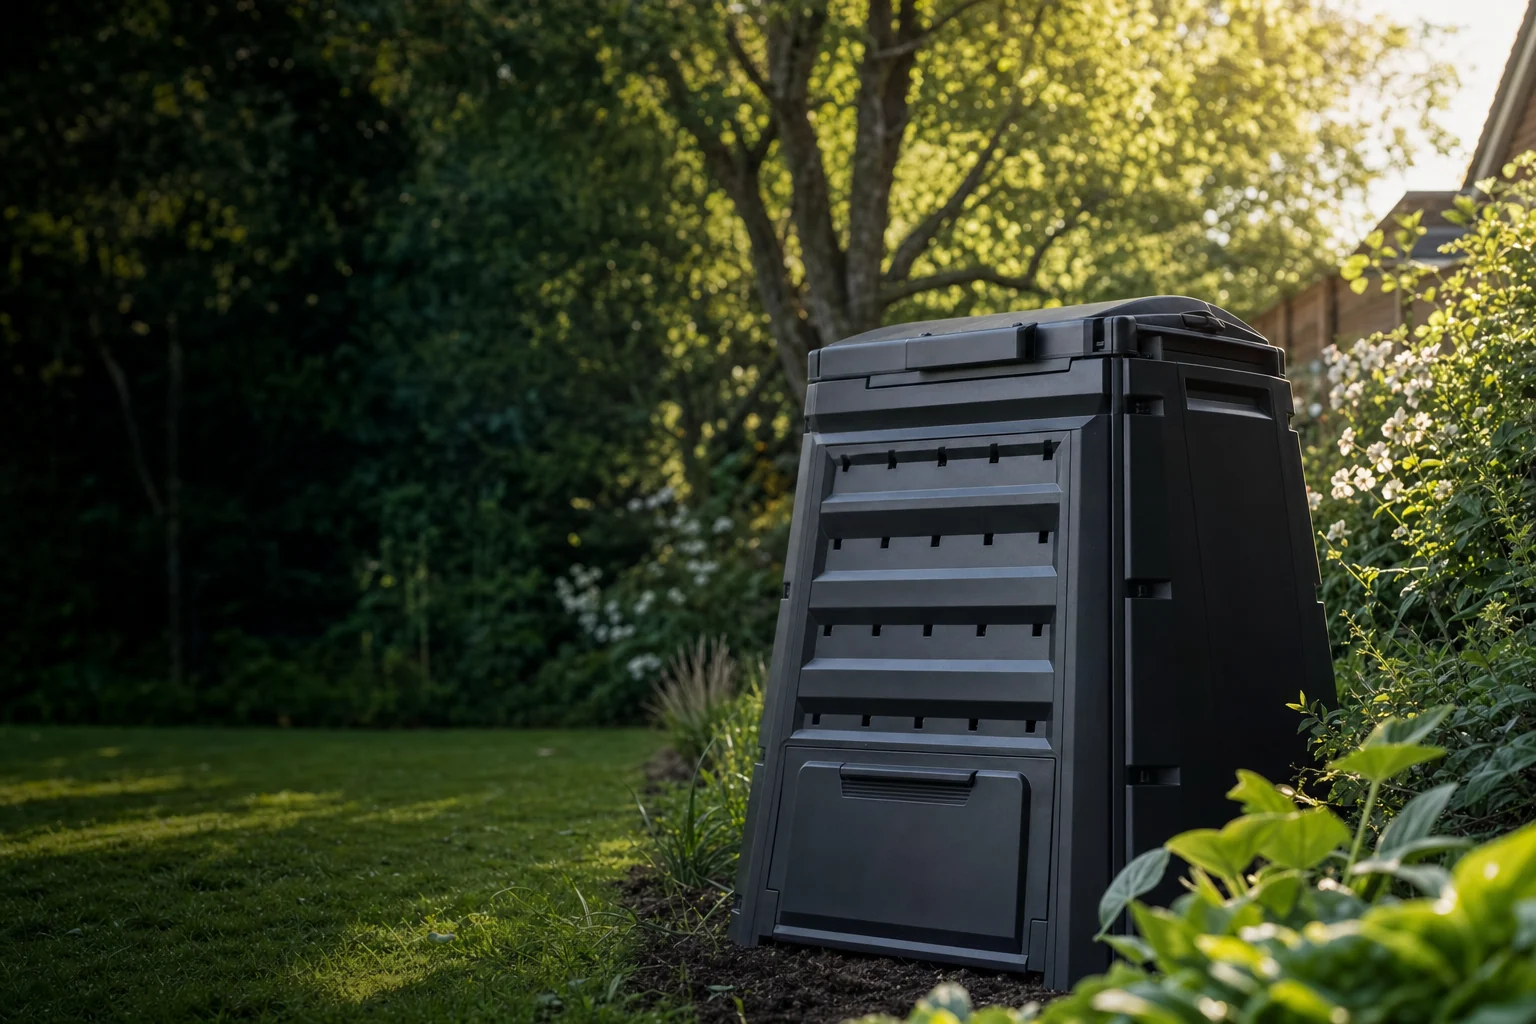
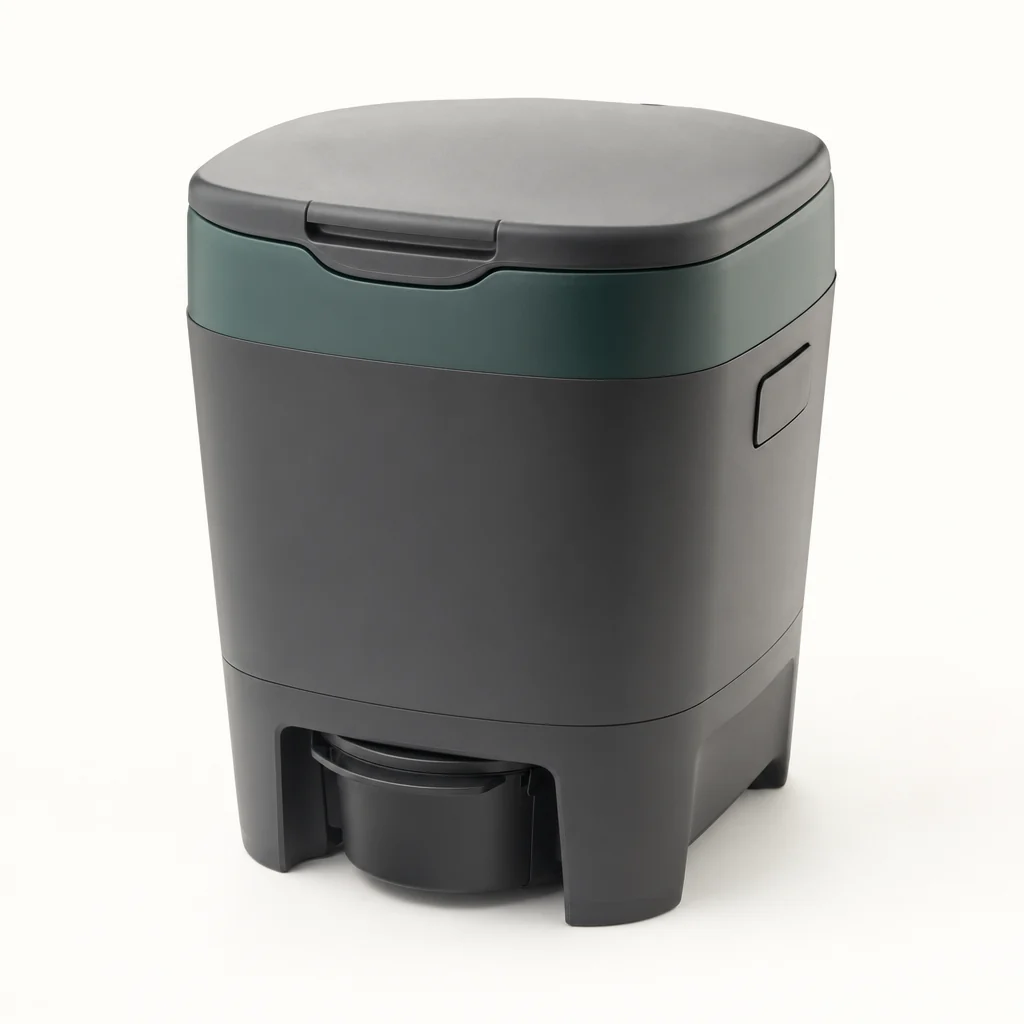
Insulated compost bins, including systems such as HOTBIN and Biolan models, are designed to retain heat more effectively than an uninsulated open bin. They can be a strong option where space is limited, where kitchen waste forms a major part of the feedstock, or where you want a more contained system close to the house. Their main advantage is not that they remove the need for balance and moisture control. They do not. It is that they make those conditions easier to maintain.
A standard plastic "dalek" bin is the familiar choice in many UK gardens. It is inexpensive in concept, simple to use and often available through local schemes, but its thin sides offer limited winter protection. Add an external fleece wrap, protected cardboard lining and a properly fitting lid, however, and it can perform far better than its rather basic appearance suggests.
Open timber bays are excellent if you generate plenty of material. Their size makes it easier to hold heat, and they are easy to turn. Their weakness is exposure. A bay needs a proper cover, a sheltered position and usually some side insulation if it is going to stay active through a cold winter.
| Setup | Best suited to | Winter strengths | Winter watch-outs |
|---|---|---|---|
| Insulated compost bin | Small to medium gardens; regular kitchen scraps | Better heat retention, contained feeding and weather protection. | Still needs balanced browns and careful moisture management. |
| Standard plastic bin with DIY insulation | Budget-conscious gardeners and smaller gardens | Simple to improve with a cover, fleece and protected cardboard. | Smaller volume means it can cool quickly in severe weather. |
| Open timber bay with insulation | Allotments and gardens with lots of leaves and prunings | Large volume can hold warmth well; easy access for turning. | Needs a rain cover and wind protection to avoid waterlogging and heat loss. |
What insulation can improve
- Retention of warmth generated by microbes.
- Protection from cold wind and repeated frost.
- More stable moisture levels inside the heap.
- A better chance of useful compost by spring.
What insulation cannot fix
- A heap that is soaked, dense and oxygen-starved.
- A pile made entirely from one material.
- A very small heap with little active material.
- Frequent turning that continually releases heat.
If you are deciding whether to upgrade, be honest about your habits. An insulated system can be helpful, but it is not compulsory. Plenty of excellent compost is made in ordinary bins and bays. The most useful improvement for many gardeners is simply keeping a stock of dry browns nearby and covering the heap before the weather becomes truly wet.
Come next spring, assess how your current setup performed. Did it become saturated? Did it freeze through? Was it awkward to add kitchen scraps? Did you have enough capacity for leaves? Those answers will tell you more than any glossy description of a composting system ever could.
Troubleshooting the Cold Heap: Fixing the Seven Most Common Winter Problems
Winter compost heaps can look alarming. They often look still, lumpy, slightly wet and as though they have resigned from gardening altogether. Before you decide the whole thing has failed, identify the actual problem. Most are fixable with a small adjustment.
1. The heap is frozen solid
Do not attempt a full turn. Forcing frozen material apart damages the microbial community and loses what little warmth remains. Insulate the outside immediately, add fresh kitchen scraps or coffee grounds to any unfrozen outer layer, then wait for a thaw. The aim is to protect the core rather than wage war on frozen cabbage leaves.
2. It is slimy, smelly and anaerobic
This usually means too much water and too little air. Add absorbent carbon material such as dry shredded cardboard, leaves or wood chip. Use a fork or aerator to open the heap, and check that the drainage base is not blocked. Re-cover it once rebuilt.
3. The temperature stays below 10°C
Add a modest nitrogen boost from fresh food scraps, coffee grounds or diluted urine mixed at a ratio of 10 parts water to 1 part urine. Then insulate the exterior and leave the heap alone long enough for warmth to build. Repeated turning will not help at this stage.
4. The heap is dry and barely changing
Check the middle, not only the surface. If it really is dry, add damp kitchen scraps or water gradually as you mix in greens. Cover the pile afterwards so wind does not undo your efforts. Avoid soaking it; a little moisture goes a long way in cold conditions.
5. There are recognisable leaves months later
This is normal, especially with whole leaves. Shred future additions where possible, mix them with nitrogen-rich material and accept that autumn leaves are naturally slower. Pick out stubborn pieces when using finished compost, or return them to the next heap.
6. Wildlife is visiting more than you would like
Bury fresh kitchen scraps in the centre, keep the lid secure and avoid adding cooked food, meat or dairy products. A tidy outer layer of leaves or cardboard gives fewer obvious clues about what is inside.
7. The heap is full, but not finished
Start a second holding pile or bag dry leaves separately until space becomes available. Do not cram more and more material into a compacted bin. Compost needs air spaces, and a little overflow is preferable to a completely blocked system.
A note on expectations
Winter compost may be uneven. You can have dark, crumbly material at the bottom and recognisable leaf fragments nearer the top. That does not make it useless. Sieve it if you want a fine finish for seed sowing, or use it rough as a mulch and return larger pieces to the active heap.
One of the best ways to avoid winter trouble is to keep adding materials in small, balanced amounts. A huge dump of peelings followed by no browns is difficult to correct. A thick layer of wet grass is difficult to correct. A modest bucket of kitchen scraps covered with dry leaves is easy. Composting rewards boring consistency, which is perhaps why gardeners so often find it quietly satisfying.
A Practical Winter Composting Routine From Now to Spring
The easiest way to keep a heap moving is to give yourself a short seasonal routine. It does not need to become another item on the garden to-do list with alarming levels of guilt attached. Think of it as a few checks when you are already outside gathering leaves, taking out peelings or trying to find the secateurs you definitely put down somewhere sensible.
Late September to November: build the reserves
This is the important phase. Collect leaves, shred cardboard, clear spent crops, add kitchen scraps and build the bulk of the heap before deep winter arrives. Consolidate scattered material into one active pile. Cover the top. Insulate exposed sides. Set aside a dry reserve of browns.
It is also the best time to deal with the physical setup. Check the lid. Improve drainage. Move a bin if it sits in a permanently wet hollow. Add straw, leaves or protected cardboard around an open bay. These jobs are much more pleasant now than they will be on a grey afternoon in January when the compost has developed its own weather system.
December to February: protect and feed lightly
Once winter settles in, add kitchen scraps little and often, always covering them with browns. Check the moisture level occasionally from the middle. Turn only when the heap is too wet, compacted or clearly airless, and ideally no more frequently than every three to four weeks.
If the heap slows almost to a halt during a prolonged cold spell, leave it be. Keep it covered and insulated. Microbial activity will pick up when temperatures rise. A winter thaw is often enough to restart the process, especially if there is fresh material waiting in the centre.
Late February to early April: wake it up gently
As days lengthen and temperatures become kinder, you can begin turning more confidently. This is when a winter heap often surprises you. Material that looked unchanged in January may collapse rapidly once the weather improves. Mix the outer material into the centre, add fresh greens and browns as spring garden jobs begin, and assess what is ready to use.
Near-finished compost can be spread around established shrubs, fruit bushes and ornamental borders even if it is not perfectly refined. Keep anything coarse for the next heap. The finest material is worth saving for containers, raised beds or where you want a more polished finish.
No. Add them in small amounts to an unfrozen area or hold them briefly until a thaw if the bin is completely solid. Always cover scraps with dry browns, and do not try to turn a frozen heap simply to bury them.
Yes, provided it is reasonably decomposed and does not smell sour. Rough compost is excellent as a mulch around established plants. For seed sowing and young seedlings, use mature, fine compost instead.
No. It can be useful if you enjoy monitoring the process, but it is not essential. A warm centre, earthy smell, shrinking pile and gradual softening of materials are all useful signs that the heap is working.
Snow can act as a temporary insulating blanket, although melted snow adds moisture. Keep a lid or cover in place, and focus on preventing prolonged waterlogging once it thaws.
The GardenScout verdict
Winter composting is not about keeping a heap roaring at summer speed. It is about retaining enough warmth, air and moisture for the microbes to carry on quietly. Build a decent volume now, keep dry browns close by, insulate the sides, cover the top and resist the urge to turn it every weekend. Come spring, you should have a heap that is ready to help rather than one that needs rescuing.