
How to Grow Onions and Shallots from Sets
A practical guide to autumn and spring planting, proper spacing, feeding, and keeping your alliums firmly focused on making bulbs rather than drama.
Late August is the useful moment to think ahead. Whilst tomatoes are still demanding a daily inspection and courgettes are quietly multiplying in the shed, the next useful crop is already waiting in the wings: autumn-planted onion and shallot sets. Get the bed ready now and you can plant from mid-September, giving the bulbs time to root before winter takes over.
If autumn planting does not suit your soil, your weather, or frankly your available attention span, there is no need to force it. Spring planting from late February to mid-April works very well too. The key is not choosing the supposedly cleverest route. It is giving sets a sunny, well-drained patch, sensible room to grow, and a little consistency. Onions are not complicated. They are, however, surprisingly good at holding a grudge when their roots sit in cold water.
Sets, Not Seeds: Why Onion and Shallot Sets Are the Smarter Starting Point
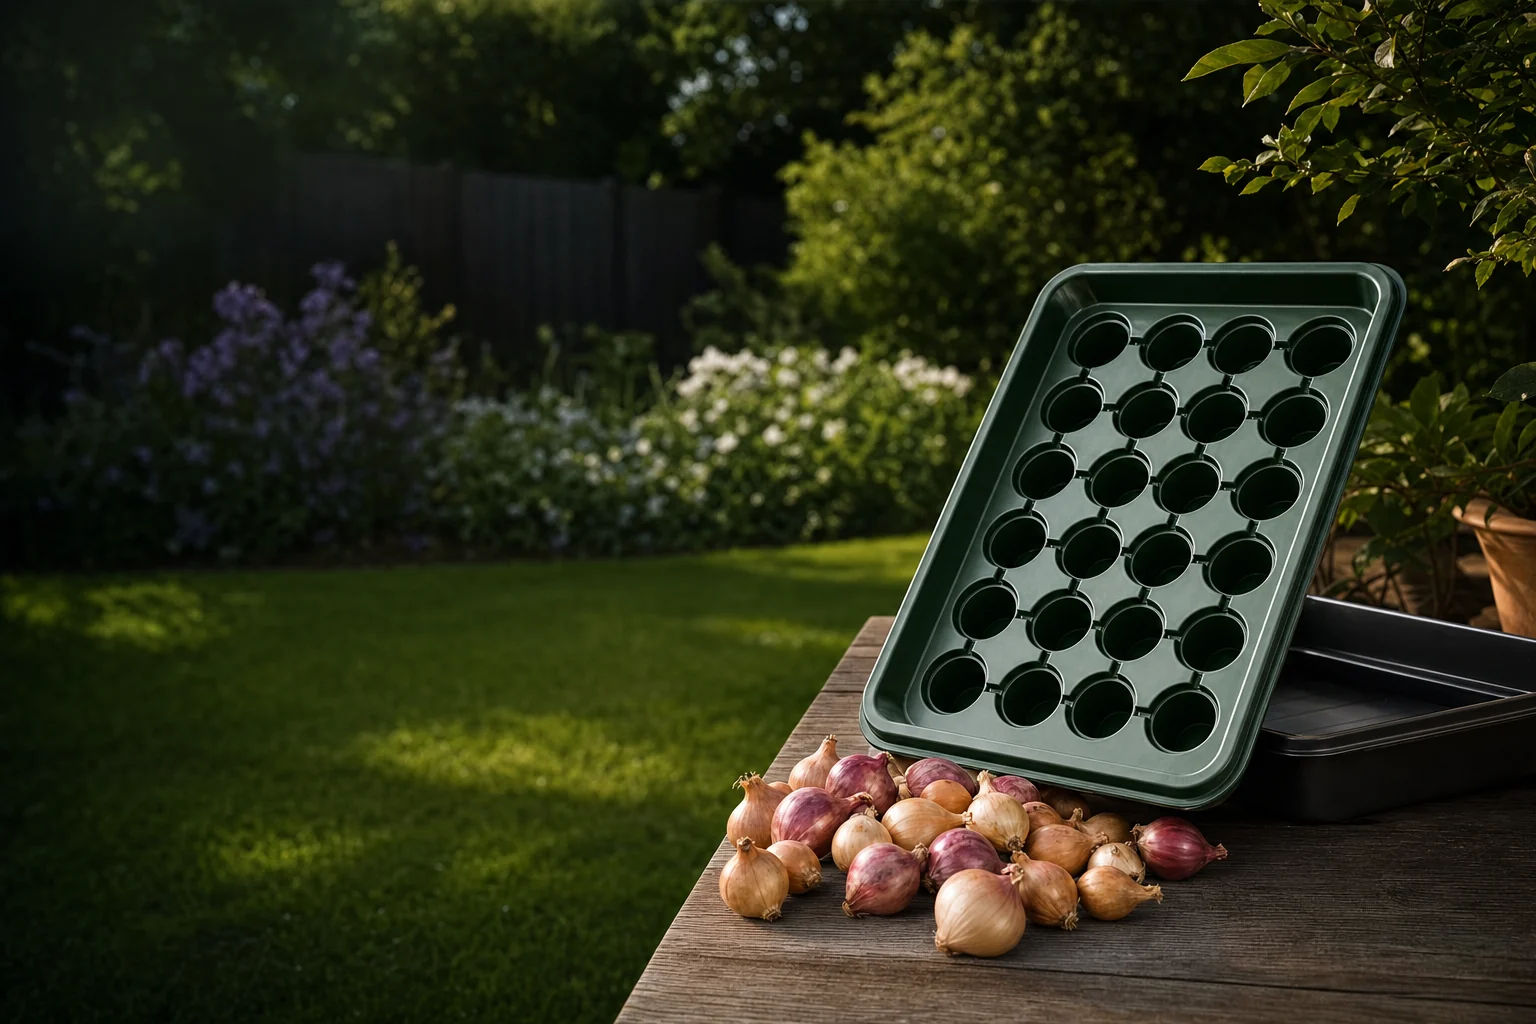
A set is a small, immature onion or shallot bulb, usually around 1–2 cm in diameter, grown from seed in the previous season and then dried for replanting. Think of it as a young plant paused at the useful bit. Rather than asking you to coax a tiny seedling through every damp, chilly obstacle a British spring can arrange, it arrives with roots-to-be, stored energy and a very clear ambition.
For most home gardeners, sets are the easiest way to grow onions and shallots. They establish quickly, are simple to handle and avoid the fiddly early stage of growing onions from seed. That is not an argument against seed-grown onions. Seed gives access to a wider range of varieties and can be excellent for serious growers. But tiny onion seedlings need close attention, accurate thinning and timely weeding. A set lets you skip much of that ceremony.
The practical advantage is time. Sets already have a 6–8 week head start on the growing season and can shorten the journey to harvest by roughly 4–6 weeks compared with direct-sown seed. In a UK garden, where spring may be brisk one day and soggy the next, that head start matters. It means plants become robust before weeds get too confident and before every small pest seems to have noticed the buffet opening.
The simple rule
Use sets if you want a straightforward, dependable crop. Use seed when you want a broader choice of varieties and do not mind a longer, more hands-on start. Neither method is morally superior. Your soil does not care.
Sets also tend to be less vulnerable than direct-sown seedlings to onion fly and downy mildew in the earliest stages. That does not make them immune. No allium is issued with a tiny force field. It simply means a set begins life as a sturdier plant, better able to make some progress before trouble arrives.
A useful head start
Sets have already completed their earliest growth stage, so they can establish rapidly when conditions become suitable.
Easy spacing
Each set is large enough to place exactly where you want it. There is no guessing, then thinning, then wondering whether you thinned too enthusiastically.
Better early resilience
Established sets are generally more robust than very young seedlings during unsettled weather, provided the ground drains freely.
One caveat is worth making early: buy firm, dry sets. Avoid any that feel soft, look mouldy or have already begun to make long, pale shoots in their packet. A little green point is not a disaster, but a damp or collapsing set is rarely about to stage a miraculous recovery. Put it on the compost heap only if it is healthy; otherwise dispose of it rather than introducing rot to the bed.
Keep sets somewhere cool, dry and airy until planting day. Do not leave them on a warm kitchen windowsill. That is a very efficient way to encourage them to start growing before you have prepared a home for them. Like most gardening mishaps, it begins with good intentions and a lack of shelf space.
Knowing Your Sets: Varieties Worth Growing in British Gardens
Onions and shallots may look closely related in a bag of sets, but they behave differently in the bed. An onion set normally produces one onion. A shallot set divides into a cluster, producing around 4–12 bulbs depending on the variety and the growing conditions. That single distinction should shape your spacing, your expectations and how much of each you plant.
For onions, 'Sturon' remains a dependable favourite. It produces globe-shaped bulbs, keeps well and has an RHS Award of Garden Merit. It is the sort of onion that earns its space not by being flashy, but by being there when you need it in the middle of winter. 'Stuttgarter Giant' is another familiar choice, producing flat-globe bulbs with a mild flavour and appearing widely in garden-centre displays.
If you want colour in the vegetable bed as well as the kitchen, 'Red Baron' is a good choice. Its red skin looks splendid amongst green foliage, and the bulbs work as well in salads as they do cooked. It also has that useful quality of looking far more glamorous than the effort required to grow it. 'Centurion F1' is commonly chosen for its bolt resistance and is available as heat-treated sets, which can be particularly useful where spring weather swings from cold to unexpectedly warm in a hurry.
Shallots are a little more sociable. One set becomes a small family of bulbs, which makes them productive in a relatively modest space. 'Jermor' is a long, copper-skinned French-type shallot with an excellent reputation for storing. Its elongated bulbs are particularly handy in the kitchen because peeling one feels less like a wrestling match than peeling several tiny round bulbs.
'Longor' is another elongated shallot, noted for a high yield ratio of up to 8:1 from a single set. That makes it a persuasive choice if you enjoy shallots regularly and have room to give them the wider spacing they deserve. 'Golden Gourmet' produces round bulbs and is valued as a reliable choice for the UK climate; it also has an RHS Award of Garden Merit. 'Red Sun' offers red-skinned bulbs and a milder flavour, useful where you want something slightly gentler for raw dishes.
| Feature | Onion sets | Shallot sets |
|---|---|---|
| What one set makes | Usually one full-sized onion | A cluster of around 4–12 bulbs |
| Space needed | More compact individual spacing | More lateral room for the developing cluster |
| Useful varieties | 'Sturon', 'Stuttgarter Giant', 'Red Baron', 'Centurion F1' | 'Jermor', 'Longor', 'Golden Gourmet', 'Red Sun' |
| Kitchen role | Everyday cooking, roasting, soups and storage | Finer flavour for sauces, dressings and slow cooking |
| Harvest form | One bulb per planting position | Several smaller bulbs to separate after curing |
There is no need to plant every variety at once. In fact, for most gardens, one reliable storage onion, one red onion and one shallot is a very sensible little line-up. You will learn more from growing a manageable number well than from trying six varieties in soil you have not yet worked out. The garden is generous with lessons. It does not always deliver them gently.
Timing Is Everything: Autumn vs Spring Planting Windows Explained
There are two main windows for planting sets in the UK. Autumn planting generally runs from mid-September to mid-November. Spring planting runs from late February to mid-April. The right one depends on your local climate, soil type and how likely your plot is to hold winter water.
As we move into September, autumn sets are the immediate job. Their advantage is simple: they begin rooting before winter, then resume growth promptly as light levels improve. Shallots can occupy the ground for up to 10 months, and autumn plantings often produce larger bulbs with an earlier harvest. Expect crops around June–July rather than August–September for spring-planted sets, assuming the season behaves itself. It sometimes does.
Autumn is particularly attractive if you want the vegetable garden producing early in summer. It also spreads the workload. There is something very satisfying about harvesting onions whilst the spring-planted rows are still fattening up, rather than having every crop demand attention during the busiest part of the season.
The drawback is wet weather. Onions and shallots dislike sitting in cold, saturated ground, and winter can provide plenty of that. Prolonged wet increases rot risk, especially in heavy clay. Repeated freezing and thawing can cause frost heave, physically lifting sets out of the soil so they sit exposed like tiny, confused corks. In harder winters, sustained temperatures below -10°C can kill sets entirely.
Choose spring if your soil stays wet
If your plot is slow to dry after rain, spring planting is often the calmer choice. You lose the earliest harvest, but gain a better chance of keeping every set healthy. A slightly later crop is preferable to a row of expensive mush.
Spring planting is the safer option in colder inland gardens, exposed sites and low-lying plots where frost settles. Wait until the soil is workable rather than treating the calendar as a command. Soil that sticks to boots in heavy slabs is too wet to prepare. Walking over it simply compresses the ground and makes drainage worse, which is gardening's version of tightening your own shoelaces whilst running.
Autumn planting: mid-September to mid-November
Best in free-draining ground and milder areas. It offers a longer season, earlier harvesting and the potential for larger bulbs.
Spring planting: late February to mid-April
Best for colder or wetter gardens. Plant once the soil can be worked without compacting it and the worst winter wet has passed.
Heat-treated sets
These are useful where bolting is a recurring problem, because heat treatment helps reduce the chance of plants receiving the wrong seasonal signal.
For the current season: use late August and early September to clear the bed, remove weeds, improve drainage and check pH. From mid-September, plant autumn sets when the soil is moist but not waterlogged.
Do not try to split the difference by planting autumn sets in a miserable, puddled bed and hoping for the best. Sets are remarkably good value in effort, but they are not waterproof. If the soil is wrong, wait for spring or use a raised bed where you can control the drainage more easily.
Bed Prep and Soil Conditions: Getting the Ground Ready for Success
Alliums reward preparation more reliably than pampering. You do not need a pristine show-garden bed, but you do need a firm, fine seedbed with good drainage and as few weeds as possible. Onions and shallots have relatively shallow root systems, so they do not compete brilliantly with fast-growing weeds. If couch grass gets established amongst them, it will cheerfully steal water, nutrients and patience.
Start by clearing old crop debris and perennial weeds. Fork out roots carefully rather than chopping them into lots of little projects for later. Then break down the surface so it is reasonably fine, removing large stones and hard clods. The soil should be firm underneath, not freshly dug and fluffy. A set planted into loose ground can be pushed out by weather and fails to anchor properly.
Fresh manure is not your friend here. Onions and shallots dislike ground that has recently been manured because it encourages soft growth and increases the risk of rot. If manure is part of your usual soil-improvement routine, it should have been incorporated the previous autumn, not added immediately before planting alliums. This is a crop that prefers a mature, settled bed rather than a lavish banquet.
Aim for a soil pH of 6.5–7.0. If a soil test shows a pH below 6.0, apply garden lime at 200–300 g per square metre. Follow the product instructions and work it into the soil well before planting where possible. Liming is not a cosmetic flourish. It helps create conditions in which nutrients are more available and alliums can make steady growth.
Clay soil is not a reason to give up. It simply requires a little engineering. Raised beds or gently ridged rows improve drainage significantly, allowing water to move away from the developing bulbs rather than collecting around them. Even a modestly raised growing area can be enough to make autumn planting viable where a flat bed would remain wet for too long.
Firm does not mean compacted
Prepare the bed, then lightly firm the surface with the back of a rake or your feet. You want stable soil around the sets, not a compressed pavement. Roots still need air as well as moisture.
Sun matters too. A bright, open position encourages strong leaf growth, and the leaves are the plant's bulb-making machinery. Shaded plants tend to remain damp for longer after rain and may make smaller bulbs. If your garden only has one reliably sunny patch, save it for crops that earn their keep. Onions and shallots absolutely qualify.
Planting Depth and Spacing: The Numbers That Actually Matter
Planting sets is pleasingly straightforward, but the details matter. Push each set into the prepared soil so that only the tip is visible. This works out at roughly 2–2.5 cm deep. It is shallow enough to keep the bulb from sitting in permanently damp soil, whilst still giving it enough purchase to root securely.
Plant too deeply and you increase the risk of rot. The set sits in cooler, wetter ground, and the emerging leaves must travel farther to reach the surface. Plant too shallowly and birds may tug the sets out, frost may lift them, and the roots may not anchor properly. The visible-tip method is reassuringly low-tech and usually gets you to the right place without needing a ruler in one hand and a muddy set in the other.
For standard onion bulbs, space sets 10 cm apart in rows 25–30 cm apart. This gives each bulb enough room to swell without wasting useful bed space. If you prefer smaller onions for pickling, roasting whole or using quickly, reduce spacing to 7.5 cm. You should get more bulbs, but each one will have less room and will therefore stay smaller. That is not failure. It is simply the deal you made with the plant.
Shallots need more elbow room. Space them 15–20 cm apart, with rows 30 cm apart. Remember: the planted set is not the finished shallot. It expands sideways into a cluster, and crowding means smaller bulbs and less air movement around the plants. If you have ever tried to separate a cramped cluster of shallots at harvest, you will understand why this is worth doing properly.
After planting, label the rows and firm the soil gently around each set. If birds repeatedly pull them up, simply press the sets back into place. Do not bury them deeper in retaliation; the birds are annoying, but they are not giving planting advice.
Water in only if the soil is dry. Autumn soil often has enough moisture already, whilst a spring bed may need a light watering to settle the sets. Thereafter, the goal is even moisture rather than constantly wet ground. In dry spells, water the soil around the plants rather than splashing foliage late in the day. Good habits now help reduce disease pressure later.
Feeding Through the Seasons: What to Apply and When
Feeding onions and shallots is mostly about timing. It is tempting to throw fertiliser at every crop as soon as it appears, partly because it feels proactive and partly because garden sheds contain mysterious half-used tubs that demand a purpose. Resist that urge. Early on, the priority is root establishment, not a sudden burst of soft top growth.
For roughly the first 1–6 weeks after planting, minimal feeding is needed if you have prepared the soil properly and applied pre-planting fertiliser. Let the set root in, establish leaves and settle down. A young allium in cold soil will not make dramatic use of extra feed simply because you have offered it.
The main feeding window begins in mid-spring, from April to May, as active leaf growth gets underway. This is the important bit because leaf number directly influences bulb size. Each healthy leaf contributes energy to the bulb later on, so your goal is a plant with upright, vigorous foliage rather than a short, pale, hungry one.
A nitrogen-rich feed supports this leaf growth. Sulphate of ammonia can be applied at 15 g per square metre every four weeks during the active leaf-growth phase. Alternatively, use a balanced liquid feed at half strength every week. The exact route matters less than avoiding excess: feed steadily, then stop pushing nitrogen once bulbs are clearly swelling. Too much late nitrogen encourages lush foliage when the plant should be concentrating on ripening.
Planting to early establishment
Feed lightly, if at all, during the first 1–6 weeks. Focus on good rooting, clear ground and correct watering.
April to May leaf growth
This is the main feeding phase. Support leaf production because strong leaves are what build substantial bulbs.
Bulb swelling and ripening
Ease off nitrogen once bulbs begin to swell. The aim shifts from lush growth to firm, dry, storable bulbs.
Feed the leaves, not your anxiety
Onions do not need constant attention. A regular four-weekly application of sulphate of ammonia during active leaf growth, or a half-strength balanced liquid feed each week, is enough. More is not automatically better.
Watering and feeding work together. In dry spring weather, water plants well enough that nutrients can move through the soil to the roots. But do not turn the bed into a bog. Onions need moisture to grow; they do not need standing water. When rainfall is regular, reduce your intervention rather than continuing to water out of routine.
Keep weeding throughout. A hand hoe on a dry day is ideal for young annual weeds, but work shallowly. Onion and shallot roots sit close to the surface and do not appreciate enthusiastic excavation. I have seen more crop damage caused by a determined hoe than by any actual pest. Gentle is often faster in the long run.
The Bolting Problem: Why Sets Run to Flower and How to Stop It
Bolting is one of those gardening words that sounds almost athletic until you see it happen. A bolting onion or shallot sends up a thick flower stalk, often called a scape, and diverts its energy into producing flowers rather than building a useful bulb. Once that happens, the bulb beneath generally stops developing properly and will not store well.
You can still use a bolted onion or shallot. Harvest it once it is of usable size and eat it sooner rather than later. Do not expect it to cure into a tidy, long-keeping bulb. The central flower stem leaves a route for moisture and decay, so it belongs in the "tonight's dinner" category rather than the "winter stores" basket.
The most common trigger is a cold spell followed by rapid warming. This is a vernalisation effect: the plant receives a seasonal signal that suggests it has passed through winter and should get on with flowering. That is why spring weather can be so troublesome. A mild spell gets the sets growing, a sharp cold snap confuses them, then a sudden warm spell pushes some plants into reproductive mode. British weather, once again, finds a way to become involved.
Set size matters too. Larger sets, especially those over 21 mm, are more likely to bolt because they may already be developmentally ready to respond to a cold period. Smaller sets tend to be less prone to this, although they may produce smaller finished bulbs. If bolting has been a problem in your garden, look for heat-treated sets and avoid the temptation to plant the very largest ones simply because they look impressively substantial.
Stress also plays a part. Drought, abrupt root disturbance and poor planting conditions can all interrupt steady growth. That is another reason why spacing, drainage and regular watering are not fussy extras. They are the boring-but-effective foundations that keep plants growing evenly.
What helps prevent bolting
- Choose heat-treated sets where bolting is a known issue.
- Use smaller, firm sets rather than oversize ones above 21 mm.
- Plant at the correct shallow depth and avoid disturbing roots later.
- Maintain steady moisture during dry weather.
- Choose spring planting for exposed, very cold or wet gardens.
What makes bolting more likely
- A cold spell followed by abrupt warming.
- Large sets that have already received a strong vernalisation signal.
- Drought and irregular watering.
- Root damage from deep hoeing or transplant disturbance.
- Autumn planting where sets establish strongly before a changeable spring.
Autumn-planted sets can be especially vulnerable because they establish before winter and then experience every temperature wobble spring has to offer. That does not mean you should avoid autumn planting entirely. It means choosing a well-drained site, planting suitable sets, and accepting that a few bolters are occasionally part of the deal.
If a plant bolts: do not wait in the hope it will change its mind. Remove the flower stem if you spot it early, then use the bulb promptly. It is still edible, just not a storage candidate.
Consistency beats perfection
You cannot control every cold snap, but you can avoid adding further stress. Firm soil, sensible spacing, shallow planting and watering in dry spells remove most of the preventable causes.
Do not confuse normal flower-like swelling at the base of leaves with bolting. The giveaway is the hard, central stalk pushing up through the foliage. Once you have seen it, you will recognise it instantly. It has all the subtlety of a flagpole.
Rot, Disease and Pests: Identifying and Preventing the Main Threats
Healthy alliums are not especially difficult, but they dislike a few things intensely: waterlogged soil, poor air circulation, repeated allium crops in the same place, and damaged foliage at harvest. Fortunately, most of the best disease prevention is ordinary good gardening rather than a complicated intervention programme.
The most serious disease for UK allium growers is white rot, caused by Sclerotium cepivorum. It is soil-borne and can affect onions, shallots and other alliums. Symptoms include yellowing leaves, poor growth and fluffy white fungal growth around the base of the bulb. Small black resting bodies, called sclerotia, may also be visible. The unpleasant part is persistence: sclerotia can remain in soil for more than 20 years.
There is no chemical cure available to home gardeners. If you find white rot, remove affected plants and dispose of them rather than composting them. Clean soil from boots, tools and trays before moving elsewhere in the garden. The disease can spread around a plot in bits of soil, which is deeply unfair but very real. Avoid growing alliums in the affected patch and keep a strict rotation elsewhere.
A four-year rotation is a sensible minimum for onions and shallots, even where you have not seen disease. Do not keep planting members of the onion family in the same bed year after year. Rotate them with unrelated crops and keep records, however simple. A notebook, a photo of a rough bed plan, or a note on your phone is enough. Your future self will be grateful, even if present self finds it faintly bureaucratic.
Neck rot, caused by Botrytis allii, is primarily a storage problem. It enters through damaged leaf necks around harvest time and shows as grey, soft rot that works down from the neck into the bulb during storage. The crop can look perfectly decent when lifted, then disappoint you weeks later in a tray. The prevention is careful handling and thorough curing.
White rot
Watch for yellow leaves and fluffy white fungal growth at the bulb base. Remove and dispose of affected plants; do not compost them.
Neck rot
Usually develops in storage from damaged necks. Harvest carefully in dry weather and cure bulbs thoroughly before storing.
General bulb rot
Most likely in compacted, wet soil or where sets are planted too deep. Improve drainage and avoid fresh manure before planting.
Early pest pressure
Sets begin sturdier than direct-sown seedlings, but clean cultivation and crop rotation remain important defences.
Sound prevention habits
- Rotate alliums on a four-year cycle.
- Use clean tools and remove soil from boots between beds.
- Grow in an open, sunny, freely draining position.
- Remove diseased plants quickly and dispose of them carefully.
- Harvest only when foliage and soil are dry where possible.
Habits that invite trouble
- Planting into freshly manured, soft ground.
- Growing alliums repeatedly in one bed.
- Leaving rotting bulbs in place.
- Composting plants affected by white rot.
- Storing bulbs before necks are properly dry.
White rot warning: if you suspect it, do not move plants, soil or debris around the garden unnecessarily. Bag affected material and dispose of it. Keeping the problem contained is more useful than trying to nurse a diseased bulb along.
Good spacing helps with disease too. Crowded plants retain moisture around their leaves and bulbs, particularly after rain. That is another reason not to squeeze shallots into onion spacing. A little air movement is not glamorous, but it is one of the quietest and most effective forms of disease prevention in any vegetable patch.
Harvesting, Curing and Storing Your Crop
Harvest is where all the patient, slightly unphotogenic work begins to look worthwhile. For autumn-planted sets, expect harvesting around June–July. Spring-planted crops are generally ready around August–September. The exact timing varies with weather, variety and planting date, so use the plants rather than the calendar as your final guide.
Bulbs are ready when the foliage starts to yellow and topple naturally. Do not bend leaves over to hurry this along. It is an old habit, but it does not improve bulb development and can create damaged tissue that invites disease. Let the plant finish its own process. Gardening contains enough opportunities to interfere already.
Choose a dry day to lift bulbs if possible. Ease them from the soil with a fork rather than yanking hard on the foliage, particularly if your ground is heavy. Brush away loose soil but do not wash them. Wet bulbs are harder to cure and more likely to develop storage problems.
Lay onions and shallots somewhere dry, airy and sheltered to cure thoroughly. The objective is for the outer skins and necks to dry properly before storage. This is the stage that makes the difference between bulbs that sit happily for months and bulbs that turn soft just when you have congratulated yourself on being self-sufficient.
Once cured, inspect every bulb. Store only those with firm flesh, intact skins and dry necks. Use any bruised, damaged or bolted bulbs first. Separate shallot clusters gently after curing if they do not fall apart naturally. Keep the stored crop in a cool, dry, airy place rather than in sealed plastic bags, which trap moisture very effectively and optimism not at all.
Quick Questions About Onion and Shallot Sets
Yes, provided you respect their different spacing. Onions can sit 10 cm apart, whilst shallots need 15–20 cm because each set divides into a cluster. Keep rows clearly labelled too; shallot foliage can look deceptively similar when you are trying to remember what went where several months ago.
No. Push it in so only the tip is visible, around 2–2.5 cm deep. Burying sets too deeply increases the risk of rot, especially in wet soil.
Press them gently back into the soil at the correct depth. Check that the bed is firm enough to anchor them. Avoid responding by burying them deeply, because that solves one annoyance by creating a more serious rot risk.
Small bulbs can result from close spacing, shade, weed competition, insufficient moisture during active growth or weak leaf development. Give plants sun, weed regularly, feed during the main spring leaf-growth phase and make sure spacing matches the crop you want.
Absolutely. Use it soon rather than storing it. The bulb will not keep well after sending up a flower stalk, but it is perfectly useful in cooking while it remains firm.
The GardenScout verdict
Growing onions and shallots from sets is one of the most satisfying ways to fill a kitchen garden. Prepare a firm, sunny, free-draining bed; plant autumn sets from mid-September to mid-November or wait for the spring window from late February to mid-April; and keep the bulbs shallow, spaced and unstressed.
Give onions 10 cm between sets and shallots 15–20 cm, feed mainly during active leaf growth in April and May, and take rot seriously from the start. The result is not complicated. It is a row of proper, useful bulbs that began as something barely larger than a marble. That remains a small bit of garden magic, even after years of growing them.