
How to Clean Patio Furniture and Cushions Before You Store Them
A practical UK guide to removing mould, bird mess and green film from rattan, teak, metal and outdoor fabric before winter gets ideas above its station.
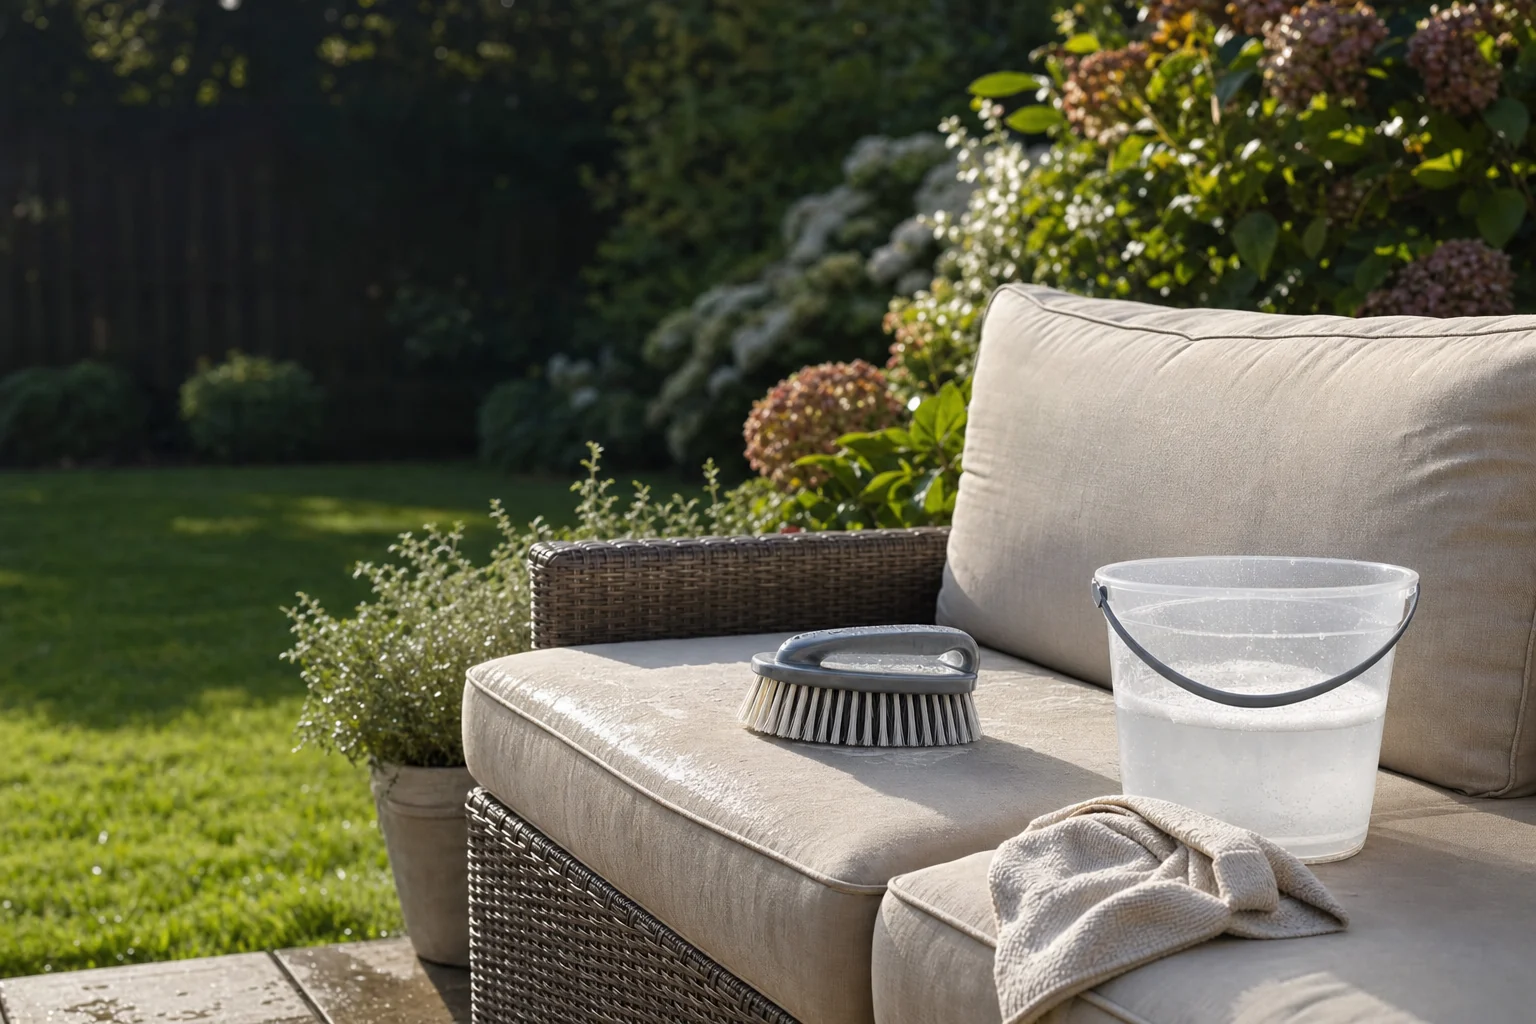
Why Cleaning Before Storage Is the Most Important Step You're Skipping
At the end of August, it can feel slightly premature to start thinking about storing the patio set. We are still hoping for those warm September afternoons when lunch drifts into tea and tea drifts into "shall we light the fire pit?" But this is exactly the useful window to deal with outdoor furniture properly. The weather is often warm enough for things to dry outdoors, and you can see the grime clearly before the darker days turn every job into a torch-assisted negotiation.
The basic pre-storage rule is wonderfully unglamorous: clean, dry, protect. In that order. It is tempting to throw a cover over a slightly green chair, stack the cushions in the shed and promise yourself you will sort them next spring. We have all made arrangements with our future selves. Future selves are, sadly, notoriously unreliable.
Dirt does not simply sit politely over winter. Bird droppings can damage surfaces because the white, pasty element contains uric acid. Left in place, it can eat into paint, stains, sealants, plastics and vinyl. What looks like a harmless splat on a chair arm can therefore become a permanent blemish, especially where rain has repeatedly re-wetted it.
Green film is another quiet troublemaker. It may be algae, a mix of algae and general organic grime, or simply the unmistakable evidence that a shaded corner of the garden has been having a damp old time. On its own, it makes furniture slippery, grubby and rather unloved. Under a cover or inside a cold shed, lingering moisture and organic residue can create exactly the conditions that let mould establish itself. Fabric, natural rattan and crevices in timber are particularly inviting places for it to settle.
The job to do now
Choose a dry day between now and early autumn, clean each piece by material, then give it enough open-air drying time before packing it away. The clean itself matters, but drying is the point at which you either preserve that effort or undo it completely.
There is also a simple practical advantage. A clean set tells you what condition it is actually in. Once the algae and crumbs are gone, you can spot loose rattan strands, lifting paint, small rust patches, worn stitching or a cushion zip that needs attention. These are manageable jobs in late summer. They become irritating surprises in April, usually on the first day you had hoped to sit down.
Do not treat every material as though it were a paving slab. Teak needs a different touch from powder-coated metal; natural wicker needs much less water than synthetic rattan; cushion covers need their care label respected even when they are behaving like a science experiment. A soft brush, patience and a little restraint will generally take you much further than aggressive chemicals or a pressure washer.
Start with the mess you can see. Remove bird droppings promptly, brush away loose debris while everything is dry, then move on to washing. Applying liquid to leaves, dust and dried mess first tends to create a muddy paste that finds every awkward corner.
Think of this as closing down the patio for the season rather than abandoning it. You are not trying to make every chair look newly delivered. Weathering is normal, especially on timber. The aim is cleaner, stable, fully dry furniture that will not spend the winter quietly degrading in a dark corner.
Your Pre-Storage Cleaning Kit: What to Gather Before You Start
There is a special kind of annoyance reserved for discovering you need a soft brush when your hands are already wet, the bucket is full and the bird mess has become mysteriously more determined. Gather the basics first. You do not need an elaborate armoury, but using the right gentle tool for each surface makes a visible difference.
Soft-bristled brush
This is the main workhorse. It should be soft enough not to score metal finishes, shred fabric or roughen timber, yet firm enough to lift algae from a chair leg and dirt from the grain of teak. An old, clean paintbrush is particularly useful for rattan weaves, joints and decorative details.
Bucket, warm water and mild dish soap
For ordinary outdoor dirt and fresh bird mess, a modest amount of dish soap in warm water is the sensible first move. It is gentle, easy to rinse and useful across metal, synthetic rattan and many washable fabrics.
Distilled white vinegar in a spray bottle
For visible mould or mildew on fabric, use equal parts water and distilled white vinegar. A spray bottle helps you apply it directly rather than soaking the entire cushion unnecessarily.
Oxygen bleach for teak cleaning
Oxygen bleach is the appropriate bleach type for the teak-cleaning method here. It must be fully dissolved before use. Chlorine bleach is not the interchangeable alternative; it can damage teak.
Clean, absorbent towels
Keep several to hand. They are useful for blotting cushions, drying metal immediately after rinsing and removing water that has pooled in frame joints. A towel does not replace air drying, but it gives the process a helpful head start.
Wear gloves if you prefer, especially if you are dealing with mould, old droppings or rough wrought iron. Work outdoors where possible, choose a well-ventilated spot and avoid cleaning directly over planted borders if you are using a stronger mixture for teak. It is simply kinder to the plants, and it stops you accidentally giving the lavender a vinegar bath.
One thing deliberately absent from the kit is a wire brush. It has its place in certain restoration jobs, but not as a casual all-purpose patio-cleaning tool. On rattan it can damage fibres and snag the weave. On painted or coated metal it may scratch through the protective finish. On teak it can leave the surface needlessly rough. Soft bristles do the day-to-day work without turning a cleaning job into a repair job.
Likewise, put the pressure washer down for this particular task. It can look satisfyingly efficient in a video, which is not the same as being kind to your furniture. Teak is especially vulnerable to pressure washing, and a blast powerful enough to remove ingrained dirt can raise its grain and strip away natural oils.
Rattan and Wicker: Clearing the Weave Without Wrecking It
"Rattan" is often used as a catch-all description, but it is worth finding out what you actually own before starting. Natural rattan and natural wicker are plant-based materials. They have a warm, textured look and need a fairly light hand with water. Synthetic or resin wicker is designed for outdoor use and is generally more forgiving, but its weave still gathers dust, mossy-looking film, spider webs, dead leaves and the crumbs of every meal you have ever eaten outdoors.
The shared principle is simple: clean the weave rather than flooding it. Water trapped deep in a weave takes longer to escape, and natural material in particular does not enjoy being soaked. It can become misshapen or vulnerable to mildew if put away damp.
Step 1: Brush while the furniture is dry
Begin with the driest job first. Use a soft brush or an old paintbrush to work through the weave, brushing trapped leaves, dust and dried soil out of the gaps. Go around the undersides of seat bases, beneath arms, along the back and around frame joints. This is where the hidden debris likes to gather, probably because it knows you are less likely to look there.
For dried bird mess, avoid scraping hard at the surface. Brush off what lifts easily. If there is a stubborn patch, soften it later with a damp cloth or mild soapy water, then lift it gently. The goal is to remove the residue without gouging natural fibres or abrading the finish on synthetic wicker.
Step 2: Use the right amount of water
For natural rattan or wicker, mix a few drops of mild oil-based soap into roughly 3.8 litres of warm water. Dampen a soft cloth in the solution and wring it out thoroughly. The cloth should be damp, not dripping. Wipe and gently scrub one small area at a time, using the brush only where dirt is lodged in the weave.
For synthetic or resin wicker, mild soapy water and a soft brush are usually suitable for a more thorough surface wash. You can also use a gentle water-and-vinegar solution for mouldy areas, applying it with a cloth or brush rather than soaking cushions, weave and frame all at once. Rinse carefully and do not leave detergent residue sitting in the crevices.
Work in sections, not a soaking frenzy
Start at the top and work down so dirty water does not travel over bits you have already cleaned. On natural rattan, wipe a section and move on. On synthetic wicker, brush gently, rinse sparingly and check that water has not collected inside the frame or under the seat.
Step 3: Deal with mould carefully
If natural rattan has mould on it, a soft brush and a gentle water-vinegar solution can help lift it. Do not confuse "gentle" with "half-hearted"; the brushing needs to reach into the weave. But it does mean avoiding saturation and harsh chemical shortcuts. Work in an airy place, clean the affected surface methodically and let the piece dry completely before storage.
Synthetic rattan tends not to suffer structural damage from mould in the same way as natural rattan, but it can stain and look grim. Mould also has a habit of living in the dust lodged in the weave rather than only on the visible surface, so the dry brushing stage remains important. If the furniture has removable cushions, take them off before washing the frame and deal with them separately later.
Never put natural rattan away merely because its surface feels dry. Check the weave, underside and any enclosed frame areas. They can hold moisture longer than the obvious parts, particularly after a rinse or a spell of humid weather.
Once dry, inspect the weave. Natural rattan may have loose ends or splits that were hidden by grime. Avoid tugging at them. Make a note for repair rather than allowing a small loose strand to become a much larger unravelled section when furniture is stacked or covered. With synthetic wicker, look for cracked strands and exposed frame sections. A clean inspection now is far easier than discovering damage after months under a cover.
Teak Furniture: Restoring the Grain Before the Cold Sets In
Teak is robust, handsome and capable of ageing gracefully, which may be why it inspires a little too much confidence. It still benefits from a careful clean before winter storage. Its familiar silver-grey weathered look is not a fault, but the textured surface can hold dirt, green film and mould spores in tiny pores and along the grain. If you store that residue with moisture still present, you are giving the winter a head start.
The safest approach is patient rather than forceful. Teak should not be pressure washed. The high-pressure stream can raise the grain, leave the wood furry and strip natural oils from the surface. Chlorine bleach is also the wrong choice: it can damage the wood structure. There is no prize for finishing ten minutes sooner if the table is rougher and more vulnerable afterwards.
Make the teak-cleaning solution
For a deeper teak clean, use a bucket of vinegar and warm water, fully dissolve oxygen bleach powder in the mixture, then add a few drops of dish soap and stir gently. The order matters because you want the oxygen bleach properly dissolved rather than sitting in gritty patches on the timber. Follow the oxygen bleach product's mixing instructions where applicable, and keep the approach measured rather than making an unnecessarily strong brew.
Before applying the mixture across the entire piece, test it on an inconspicuous patch. This is especially sensible if the furniture has been oiled, stained or sealed previously. Teak can have a different surface treatment from one owner to the next, and a discreet test saves you from learning an important lesson in the middle of the tabletop.
Wet the teak first
Use garden-hose water to wet the furniture before applying the cleaning mixture. This helps the solution spread more evenly and prevents it sitting too fiercely in one dry patch.
Brush with the grain
Use a soft-bristled brush and move in the direction of the grain. Cross-grain scrubbing is needlessly abrasive and can make a well-used surface look rougher than it needs to.
Keep it damp whilst it works
Let the mixture sit for 10–15 minutes, keeping the wood damp throughout. Do not let it dry onto the teak.
Rinse thoroughly
After a light final scrub, rinse well with the garden hose. Remaining cleaner is not a protective coating; it is simply residue waiting to become a problem.
A practical teak-cleaning sequence
- Brush off dry leaves, dust and loose debris from every surface, including underneath the table and inside chair joins.
- Remove fresh or softened bird droppings with mild soapy water before moving to the full clean. Do not grind them into the grain.
- Wet the furniture with the hose.
- Apply the prepared vinegar, oxygen bleach and dish soap mixture.
- Brush gently in the direction of the grain.
- Leave it for 10–15 minutes, keeping the teak damp rather than allowing the mixture to dry.
- Lightly scrub any persistent green film, then rinse the furniture thoroughly.
- Leave it to dry fully before covering, storing or considering any further finish treatment.
Silver-grey is not dirty
Do not scrub teak simply because it has developed its natural weathered colour. Clean away grime, algae, mould and bird residue; do not try to force the timber back to an unnatural version of itself with repeated aggressive cleaning.
Pay special attention to horizontal surfaces. Tabletops and armrests collect bird mess and green film, whilst the underside of a table or chair seat can hold dampness without attracting much notice. Slats need cleaning between as well as across their top surface. If the set folds, open it up before washing so you can clean and dry the hidden contact points.
If you plan to oil teak after cleaning, allow around 48 hours of drying time first. The wood needs to be dry before any subsequent treatment. If you are simply storing the furniture, the same lesson applies: do not trap residual dampness under a cover because the surface looks dry after one pleasant afternoon. Timber dries from the outside in, and British late-summer weather is rarely as decisive as we would like.
Metal Furniture: The Rust and Residue Reckoning
Metal furniture may look like the low-maintenance member of the patio family, but it has its own winter-storage vulnerabilities. Aluminium does not rust in the way wrought iron does. Instead, it can oxidise, often showing as a white powdery surface. Wrought iron, meanwhile, can rust enthusiastically if moisture is trapped against exposed metal, chipped paint or joints. Powder-coated steel and painted metal sit somewhere in between: their protective finish does a lot of work until it gets scratched, chipped or left beneath a damp cover.
The basic cleaning method for aluminium is pleasantly straightforward. Wash it with soapy water, rinse thoroughly and dry it completely. The drying part deserves bold type, a fanfare and perhaps a small parade: dry it completely. Water left in joins, under feet or beneath stacked chairs is exactly what you do not want before storage.
For more persistent residue on metal, including old grime or a stubborn green film, use the deeper-cleaning paste: 45–60 ml of dish soap, 240 ml of baking soda and 240 ml of warm water. Apply the paste, allow it to sit for 10–15 minutes, then rinse it away. Use a soft cloth, sponge or soft-bristled brush. The intention is to lift residue, not scour the life out of the finish.
Good habits for metal
- Use mild soapy water for routine washing.
- Rinse thoroughly after any cleaner or paste.
- Wipe metal dry immediately after rinsing.
- Check joints, feet and undersides before storage.
- Clean bird droppings promptly to limit acid damage to paint and coatings.
Things to avoid
- Leaving pooled water under chair seats or inside tubular frames.
- Using wire brushes casually on painted or coated finishes.
- Stacking wet chairs tightly together.
- Covering wrought iron whilst it is even slightly damp.
- Ignoring a paint chip until it has become a rust patch.
For wrought iron, use the clean as an inspection opportunity. Look for orange-brown rust, bubbling paint and rough patches around bolts, decorative scrolls and feet. Cleaning does not magically reverse rust, but it exposes what needs dealing with before storage. The important bit for today is not to seal damp grime against those areas for months.
Bird mess deserves particular attention on metal because uric acid can attack paint and protective coatings. Soften dried deposits with a damp cloth and mild soapy water rather than attacking them with something abrasive. Rinse, then dry. If you see a dull patch where the coating has already been affected, clean it carefully and make a note to address the finish before the furniture returns to full use.
Do not assume aluminium needs no care because it cannot rust like iron. Oxidation, trapped dirt and moisture in joints can still leave it looking tired, whilst cushions or covers sitting against a damp frame can develop mould all on their own.
After washing, turn chairs upside down briefly if their design allows, so water can drain from legs and frame recesses. Open folding furniture fully. Separate stacked chairs and dry the contact points. It is a minor faff, admittedly, but one that takes minutes now and can prevent an entire winter of damp being held between two neatly nested seats.
The Mould, Bird Mess and Green Film Problem: A Material-by-Material Comparison
It helps to name the enemy before reaching for a bucket. Mould and mildew, bird droppings and green film may all make furniture look neglected, but they behave differently. Treating every mark with the same vigorous scrub is how delicate materials end up damaged for no very good reason.
Mould and mildew are most troublesome on fabric cushions and natural rattan because both provide texture, fibres and sheltered spaces where spores can settle. Teak is moderately vulnerable because its grain and pores can retain damp organic residue. Aluminium itself is a low-risk surface for mould growth, but the joints, pads, covers and anything touching the frame are another story.
Bird droppings are urgent because of the uric acid content. They can stain fabric, but they can also damage painted surfaces, sealants, stains, plastics and vinyl if left in place. Synthetic rattan is less likely to suffer structural harm than natural fibres, yet dried droppings can lodge in its weave and stain badly. On teak, the concern is not merely appearance: residues left on a treated or sealed surface can compromise the finish.
Green film is usually a sign of damp, shade and accumulated organic matter. It can make metal and resin furniture slippery, settle into timber grain and cling to the complicated geography of wicker. Laundry detergent in warm water, applied with a soft-bristled brush or sponge, is a gentle approach for washing algae-affected furniture down. Focus on the visibly affected areas and rinse thoroughly afterwards.
| Problem | Rattan and wicker | Teak | Metal frames | Fabric cushions |
|---|---|---|---|---|
| Mould or mildew | Highest concern on natural fibres and deep weave. Brush first; use a gentle water-vinegar clean and dry thoroughly. | Can sit in pores and grain. Clean gently with the teak method; avoid chlorine and pressure washing. | Low on exposed aluminium, but check joints and areas beneath cushions or covers. | Highest concern. Treat with equal parts water and distilled white vinegar, leave for 15 minutes, then scrub as appropriate. |
| Bird droppings | Can dry into the weave. Soften and lift gently rather than scraping hard. | Remove promptly to protect stains, sealants or surface treatments. | Remove promptly because uric acid can affect paint and powder coating. | Dish soap and water is a gentle first treatment for stains on outdoor fabric or canvas. |
| Green algae film | Brush weave carefully; avoid soaking natural material. | Clean with the grain, rinse well and do not blast with a pressure washer. | Wash with warm water and detergent using a soft brush or sponge; dry immediately. | Check whether it is surface dirt or mould, then treat the cause and dry fully. |
| Storage priority | Keep dry, especially natural rattan. | Allow generous drying time after cleaning. | Prevent trapped moisture and inspect for rust or coating damage. | Ensure foam and covers are genuinely dry before packing. |
The gentle-first rule
Begin with brushing, mild soap and water, then step up only where the material and problem justify it. Stronger is not automatically better. On outdoor furniture, it is often simply more likely to remove the finish along with the dirt.
If you are unsure whether a dark mark on a cushion is mould, treat it cautiously as though it may be. If a patch has a musty smell, a fuzzy appearance or returns after cleaning, it deserves a more careful clean and a longer drying period. Conversely, a dusty green-grey layer on an aluminium chair may be algae or general grime rather than a mould problem. The correct response is still to clean, rinse and dry it, just without turning it into a chemistry project.
Do not overlook the places where materials meet. The fabric tie under a chair cushion, a teak slat beside a metal bracket, the rattan edge around a glass tabletop and the underside of a seat pad are all places where moisture can linger. Furniture rarely fails in the middle of a broad, open surface. It fails in the awkward bits we assumed were fine.
Fabric Cushions and Covers: The Deep Clean They Desperately Need
Outdoor cushions are where the glamour of the patio set meets the biological reality of British weather. They catch pollen, sunscreen, damp jeans, bird mess, crumbs, rain splash, leaf litter and, somehow, always one small dead spider. They should be deep-cleaned at least twice a year and always before winter storage. It is not excessive. It is basic prevention.
Start by taking every removable cushion off the furniture. Separate seat pads, back cushions, loose covers and throws. If a care label is present, read it before proceeding. The manufacturer's instructions for removable covers take priority, particularly where washing-machine use, water temperature or drying restrictions are concerned. The methods below are useful general approaches, but labels are there because fabrics, dyes, foam and coatings vary.
Step 1: Assess before you wash
Lay cushions flat in a dry, bright place and inspect both sides. Look for black or green spots, a mildew smell, bird-dropping stains, ingrained grime around seams and any broken stitching or failed zips. Press the cushion gently in a few areas. If water squeezes out or the foam feels markedly heavy, it will need far more drying time than a quick surface wipe can provide.
Brush away dry debris before wetting anything. Vacuuming can help with loose dust if you have a suitable attachment, but a soft brush works well for seams, piping and textured outdoor fabric. Do not scrub dry mould hard enough to send it flying around; work calmly, outdoors, and clean the brush afterwards.
Step 2: Treat mould and mildew
For mould, mildew and bacteria on fabric, mix equal parts water and distilled white vinegar in a spray bottle. Spray the affected area and leave the solution to sit for 15 minutes. This contact time is part of the process, so do not spray and immediately scrub as though you are trying to catch a train.
After 15 minutes, gently scrub the affected area with a soft brush or cloth. Work from the outer edge of the mark inward where possible, particularly on a visible stain, so you do not spread it. Blot with a clean towel. Repeat carefully if needed, but avoid saturating the foam core. The more water you drive into a cushion, the longer your drying challenge becomes.
Visible mould spots
Use the equal-parts water and distilled white vinegar spray. Leave for 15 minutes before gentle scrubbing, then allow extended drying in an airy place.
Bird-dropping stains
A mixture of dish soap and water is a gentle option for fabric cushions and canvas materials. Soften first; avoid rubbing a dried deposit deeper into the weave.
General embedded dirt
Use mild soapy water sparingly, soft brushing and clean-water rinsing or blotting as suitable for the cover. Do not leave soap behind to attract more grime later.
Removable covers
If the care label allows washing, follow it exactly. Refit covers only when both cover and cushion inner are completely dry.
Step 3: Remove bird mess without setting a stain
Bird mess is best dealt with as soon as you spot it, but the pre-storage clean is your chance to catch old stains too. Use dish soap and water to soften the residue. Dab or blot rather than scrubbing wildly at first. Once the surface deposit has lifted, gently clean the remaining mark with a soft cloth or brush. Rinse or blot away soapy residue according to the fabric's care instructions.
Do not be tempted to use harsh bleach on coloured outdoor fabric simply because the stain is offensive. You may remove the bird mess and also remove the colour. That is a poor exchange rate. If a stain remains after gentle treatment, it is often better to accept a faint mark than create a pale, brittle patch in the middle of an otherwise good cushion.
Cushions are dry only when the middle is dry
The cover may feel crisp whilst the foam inside remains cool and damp. Press firmly in several places. If you can feel coolness, dampness or a heavier wet patch, continue drying. Storing a cushion at that stage is an invitation to mould, not a solution.
Give fabric time. Aim for at least 24–48 hours of drying for cushions after a thorough clean, preferably in moving air and indirect sunlight. Turn them periodically so seams, undersides and the foam core all get a fair chance.
Direct blazing sun can be useful in moderation, but indirect sunlight and airflow are often the more dependable combination for long drying. Prop cushions on their edges rather than laying them flat on a damp lawn or patio. Bring them in overnight if dew is likely. Late summer can give you a perfectly dry afternoon followed by a damp morning that undoes much of the good work.
Once clean and dry, store cushions somewhere dry and ventilated. Avoid a sealed plastic bag if there is any doubt whatsoever about residual moisture. A moisture-absorbing product in the storage area can help keep conditions drier, but it is not a substitute for drying the cushions properly beforehand. Nothing can rescue a damp foam core that has been packed away for months and forgotten.
Drying, Protecting and Packing: The Final 20% That Makes the First 80% Worth It
Cleaning is the visible part of this job. Drying is the part that determines whether it worked. You can remove every trace of algae, rinse every chair and lift each bird stain, but if water remains in fabric, rattan weave, timber joints or metal contact points, winter storage can still turn a tidy patio set into a musty disappointment.
The guiding principle bears repeating because it is so useful: clean, dry, protect. A cover is the protection stage. It does not turn damp furniture dry. In fact, putting a cover over wet furniture can hold moisture around it, particularly if the cover fits tightly or the item is pushed into a poorly ventilated shed.
Give each material the drying time it needs
- Fabric cushions: allow at least 24–48 hours after deep cleaning. The foam core is the deciding factor, not just the outer cover.
- Teak: allow about 48 hours if you intend to oil it afterwards. It should also be fully dry before storage or covering.
- Natural rattan: allow at least 24 hours, ideally in indirect sunlight with good airflow. Check inside the weave and underneath.
- Metal: wipe it dry immediately after rinsing, then check pooled water in joints, under seat rails and between stacked pieces.
These are sensible minimums, not guarantees from the weather gods. A dry, breezy day will help. A humid day followed by drizzle will not. If you have any doubt, wait. There is no deadline that matters more than putting furniture away dry.
The foam-core test for cushions
Press firmly into the centre of each cushion with the flat of your hand. Move around the cushion rather than testing only the corner that has been sitting in the sun. If it feels cool, damp, unusually heavy or makes a faint squelchy protest, it needs more drying. Smell it too. A clean cushion should smell neutral and fresh, not vaguely like the back of an old shed.
Turn cushions regularly as they dry. Stand them on an edge if possible, with space between each one. This lets air reach both faces and helps water escape from seams. Do not pile them onto one another because the compressed contact areas will remain damp long after the outside appears dry.
Covers need breathing room
If you cover frames outdoors rather than storing them inside, use the cover as weather protection rather than shrink-wrap. Keep furniture clean and dry first, and avoid creating a sealed pocket where condensation has nowhere to go.
For storage, choose the driest practical space. A shed, garage or storage box can all work if they are dry and have some air movement. Keep cushions off a cold floor where possible, especially concrete, which can feel dry whilst encouraging condensation around stored fabric. Store them loosely enough that air can circulate and consider a moisture-absorbing product in the storage area.
Stack metal chairs only once every contact point is dry. If possible, place a clean dry layer between surfaces that might rub or trap moisture. Fold furniture only after checking the hinges and overlapping sections. Natural rattan should not be crushed beneath heavy items, and teak should be positioned so air can still move around it rather than pressed tight against a cold wall.
One final check before shutting the shed door is surprisingly effective: run your hand underneath everything. The underside of a tabletop, the feet of chairs, cushion bases and the rear of a bench often tell the truth about whether the item is ready. If one area is damp, leave it out a bit longer. You will be pleased you did when spring arrives.
Common Mistakes That Ruin Furniture Before It Even Gets to the Shed
Most patio furniture is not ruined by one dramatic event. It is worn down by small, preventable decisions: a damp cushion stored in a plastic bag, a pressure washer used with great enthusiasm, a bird dropping ignored because it was raining, a cover put on too early. None of these feels catastrophic at the time. Together, they make spring cleaning much harder than it needs to be.
Do this instead
- Brush dry debris away before applying water.
- Use soft bristles and gentle cleaners first.
- Remove bird mess as soon as practical.
- Rinse cleaning products away thoroughly.
- Dry every material completely before covers or storage.
Avoid these shortcuts
- Storing furniture dirty because "it is only winter".
- Pressure washing teak.
- Using chlorine bleach on teak.
- Soaking natural rattan or wicker.
- Packing cushions away after only surface drying.
Mistake 1: Storing furniture dirty
Outdoor grime does not become harmless simply because it is out of sight. Mould spores, damp organic residue and bird droppings remain on the surface, with months of enclosed storage ahead of them. Clean furniture is easier to inspect, easier to protect and far nicer to unpack. More importantly, it removes the food and moisture-holding dirt that encourages mould.
Mistake 2: Using a pressure washer on teak
Teak's durability can make it seem invincible. It is not. Pressure washing can damage the wood by raising the grain, causing furring and stripping its natural oils. You may get a startlingly clean patch quickly, but that does not mean you have improved the furniture. Stick with a soft brush, the appropriate cleaning mixture, work with the grain and a thorough rinse from the hose.
Mistake 3: Reaching for chlorine bleach on teak
Chlorine bleach can degrade teak's wood structure. For the teak-cleaning method described here, oxygen bleach is the correct type. Fully dissolve it, combine it with the vinegar, warm water and a few drops of dish soap, then use it patiently. Furniture care is one of those areas where using the right category of product matters more than using a dramatically named one.
Mistake 4: Forgetting that natural rattan is not plastic
Natural rattan can be damaged by over-wetting. It should be cleaned with a damp, well-wrung cloth and gentle scrubbing, not drenched with a hose. Synthetic rattan gives you a little more latitude, but even there, water lodged in the weave and frame must be allowed to escape before storage.
Mistake 5: Treating cushions as dry when only the cover is dry
This is perhaps the commonest error. Cushion covers can feel dry very quickly, especially after a breezy afternoon. Foam does not follow the same timetable. Give deep-cleaned cushions 24–48 hours minimum, use the press test and turn them regularly. If they are cool or damp in the middle, they are not ready. No amount of optimism will alter this.
Before you put the final cover on or close the storage door, do one last inspection. Look for trapped water, feel beneath cushions and frames, and check that every cleaned surface has had time to dry. That five-minute check is the cheapest insurance policy your patio furniture will ever get.
Quick Questions Before You Put Everything Away
Yes, but plan around drying rather than just washing. Clean frames on a dry spell, wipe metal immediately and wait for a period when cushions and natural rattan can dry with decent airflow. If rain is due before cushions are dry, bring them somewhere airy and dry rather than packing them away early.
Vinegar and water are useful for mould treatment on fabric and can be used gently on rattan. Teak has its own specific cleaning method using vinegar, warm water, dissolved oxygen bleach and a few drops of dish soap. Always use a light touch, test an unobtrusive area where a finish is present and avoid soaking natural materials.
Soften it first with a damp cloth and mild soapy water, then lift it gently. Do not scrape aggressively, especially on timber finishes, paint, resin wicker or fabric. Rinse the area where appropriate and dry it afterwards.
Not if there is any possibility of remaining moisture. Cushions need to be completely dry before storage, and a dry, ventilated storage space is preferable. A moisture-absorbing product can help manage the storage environment, but it cannot compensate for packing away damp foam.
Come next spring, wait until the storage area and furniture are dry, then inspect everything before putting it back into regular use. Wipe away any dust, check frames and cushions for lingering damp or mould, and deal with small issues before the first sunny weekend makes them suddenly urgent.
The GardenScout takeaway
Do the patio clear-up whilst late-summer drying weather is still on your side. Brush debris away first, use the gentlest suitable cleaner for the material, remove bird mess promptly, avoid pressure washing or chlorine on teak, and give cushions, rattan and timber the drying time they genuinely need. Clean, dry, protect. It is not thrilling, perhaps, but it is exactly how furniture survives winter looking like furniture rather than a compost heap with armrests.