
How to Prune Clematis: The Three Groups Explained Simply
The flowering time tells you almost everything. Learn the three pruning groups, when to reach for the secateurs, and the calm fallback rule for an unlabelled clematis.
It is late September, which is a slightly awkward time to stand in front of a clematis with secateurs in hand. The summer flowers may be looking tired, a few stems might be flapping about in the wind, and the whole thing can suddenly appear to need "sorting out". This is gardening shorthand for making a cut you may regret in February.
Clematis pruning has acquired a fearsome reputation. It is one of those gardening jobs that seems to arrive with an alphabet soup of groups, dates and stern-looking diagrams. Yet the basic system is much kinder than it first appears. Once you understand when your clematis flowers and whether it blooms on last year's stems or fresh spring growth, the answer is usually sitting there in plain sight.
Why Clematis Pruning Confuses Everyone (And Why It Doesn't Have To)
Clematis is a generous climber. Give it a support, a reasonably happy root run and somewhere for its leafy head to reach the light, and it will cover a fence, scramble through a shrub or make a trellis look much more expensive than it was. It is also remarkably good at ending up in gardens without a label.
Perhaps you inherited one when you moved house. Perhaps it came from a friend's cutting, or was chosen during a cheerful garden-centre visit in full flower, when its name seemed less urgent than its colour. By the following winter it is a collection of brown stems, the label has vanished into another dimension, and you are meant to know whether cutting it down will produce glory or heartbreak.
The reason the three groups exist is not to make gardeners feel examined. They describe three different flowering habits. Some clematis flower on stems made during the previous growing season. Some flower on fresh stems made in spring. Some do a bit of both. Pruning needs to protect the stems carrying the first type of flower, whilst encouraging the vigorous new shoots needed for the second.
That is all the classification is trying to tell you. It is useful information, not a personality test.
The reassuring short version
If your clematis flowers before June, avoid winter pruning. If it begins flowering from late June onwards, it can be cut hard in February. The only plants that need a little more detective work are the large-flowered types that flower in May or June and then return later in summer.
Right now, in a UK garden, resist the urge to give a healthy clematis a major autumn haircut. You can remove a snapped or obviously diseased stem, and gently tie in anything that has come loose from its support. But save routine pruning for the correct season. Autumn is for observation: make a note of where the flowers were, whether there was one flush or two, and how low or high up the plant they appeared.
That small bit of reconnaissance pays handsomely next year. A note in your phone saying "flowers first appeared late July" is far more useful than a faded label tied to a cane. It is also the sort of sensible gardening admin that takes ten seconds and makes you feel suspiciously organised.
Old Wood, New Wood: The Two-Minute Concept That Unlocks Everything
Before getting to the groups, it helps to translate the phrase that causes most of the confusion: old wood. It does not mean dead, useless or ancient. It simply means stems that grew in the previous season and survived the winter. By late winter, an old-wood clematis may already have the buds that will become its spring flowers sitting on those apparently unremarkable stems.
If you cut those stems down in February, you have not harmed the roots or killed the plant. You have simply removed the part holding this year's flower show. The clematis will usually make new growth afterwards, because clematis are not known for taking setbacks personally. But it will need time to create replacement stems and buds, so the early display is gone for that season.
New wood means the fresh shoots produced in the current growing season. A new-wood clematis begins the spring by shooting from low down on the plant, then makes its flower buds on those new stems. In this case, removing the old top growth in late winter is exactly what you want. It clears away last year's tired framework and encourages sturdy, flower-bearing new shoots.
Old wood: last year's stems still matter
These stems carry the buds or flowering structure for an early display. Preserve them through winter, then prune only after flowering if the plant needs reducing or tidying.
New wood: this year's shoots do the work
Flowers form on growth made after spring begins. Hard pruning in February keeps the plant youthful, lower and much less likely to become a tangle with flowers at roof level.
Both: the reason Group 2 exists
These large-flowered clematis use old wood for their main early flush, then make a lighter late-summer flush on new shoots. They reward restraint rather than a dramatic annual chop.
I think of old-wood clematis as being a little like a spring bulb: much of the preparation has already happened before you arrive with the secateurs. New-wood clematis are closer to annual bedding plants in spirit. Each spring they start building their flowering performance from fresh growth.
A useful winter clue: plump, paired buds on a living stem are worth protecting until you know the plant's group. Brittle, hollow, shrivelled or clearly dead material can be removed from any clematis, but do not confuse a leafless stem with a dead one just because it looks unpromising in winter.
There is another subtle point worth knowing. "Old wood" and "new wood" are descriptions of where flowers are made, not instructions to leave a plant untouched forever. Even Group 1 clematis may need a little shaping after flowering. The difference is timing. Prune the early flowerer immediately after its display, and it has the rest of the growing season to make next year's flowering stems. Prune it in winter, and you are cutting into the show you were trying to enjoy.
Once this clicks, the groups stop feeling like rules to memorise and become a simple cause-and-effect story. Flowers first, pruning second. Or pruning first, flowers later. Your clematis is already following the system; you are merely joining in.
Group 1 Clematis: The Hands-Off Heroes
Group 1 clematis are the early starters. They flower before early June, often much earlier, on growth made the previous year. This group includes familiar vigorous types such as Clematis montana, alpina forms and evergreen Clematis armandii. Their flowers can appear from February through to May, depending on the plant and the season.
In practical terms, these are the clematis to leave alone during winter. If yours is flowering before the Chelsea Flower Show in late May, it is very likely to be a Group 1 plant. Its flower buds have survived the winter on existing stems. February is not the moment to reduce it to a neat bundle, however satisfying that may look for roughly three minutes.
The official-sounding phrase for Group 1 is "no regular pruning required", and it is beautifully freeing. A healthy plant that is the right size for its support can simply be left to get on with it. Remove dead, damaged or badly tangled growth when you see it, and tie in loose stems where useful. That is enough.
Of course, a vigorous montana has ideas about what constitutes "the right size". Given a fence, a tree or a neighbour's shed roof, it may make a spirited attempt to own the lot. If you need to reduce it, do so as soon as the flowers fade. Cut back the stems you want to shorten, preferably to a strong side shoot or a pair of buds. You can thin out some older stems at the same time to let light and air into the centre.
Do not feel obliged to make every stem the same length. Clematis are climbers, not hedges. A plant with a slightly varied framework tends to look more natural, and it is much easier to keep its stems threaded through their support. Your goal is not a geometric sculpture. Your goal is a healthy plant that can make new growth during summer, ready to flower next spring.
Group 1 rule: enjoy first, tidy afterwards
If it flowers before June, do not give it a routine winter prune. Wait until the flowers have finished, then trim only if it has outgrown its space, has damaged stems or needs a little thinning.
There is a useful distinction here between pruning and deadheading. With a Group 1 clematis, you may remove spent flowers if they offend you, but it is not essential. The important thing is not to take out large sections of green growth later in the year, because those fresh stems may be the ones that carry next year's flowers.
At the end of September, your Group 1 job is almost entirely observational. Make sure the plant is attached securely, remove anything obviously broken, and step back. It has already done the growing that matters for its next flowering season. The least dramatic option is often the clever one.
Group 2 Clematis: The Two-Flush Performers That Need a Light Touch
Group 2 is the middle ground, and it is the group that makes people feel that clematis pruning has hidden clauses. These are generally the large-flowered hybrids that give a substantial display in May and June on old wood, then often produce a second, lighter flowering in late summer on new growth made after the first flush.
That two-flush habit explains everything. The May and June flowers need last year's stems, so a hard February prune removes the main event. But the plant also benefits from a little tidying, and cutting back spent flowering stems after the first flush encourages the fresh growth that can carry later flowers. It is not complicated once you see the rhythm: protect in winter, encourage after the first display.
In February, inspect the stems from the top down. Remove dead tips, cutting back to the first pair of plump, healthy buds. If a whole stem is dead, take it out. If the plant is crowded, you can remove a little of the oldest or weakest growth. But do not cut the entire plant hard to the base. Group 2 clematis are not looking for a reset button.
Think "tidy", not "reduce". A February prune for Group 2 should look modest when you have finished. If the plant has gone from a climbing framework to a handful of short stumps, you have probably removed the old wood needed for the first flowering flush.
After the main flowers fade in early summer, cut back the spent flowering stems. Work down each stem to a strong pair of buds or a healthy side shoot. This does two useful things: it makes the plant look less exhausted, and it directs energy into new shoots. Those are the shoots that may flower again later in summer.
Do not panic if the second display is smaller. That is normal. The first flush is usually the grand one, with bigger flowers arriving in a more concentrated burst. The later flowering is a welcome encore, not necessarily a repeat performance with a smoke machine and pyrotechnics.
A simple Group 2 routine
- Come February: remove dead tips and cut back to the first healthy pair of buds. Keep the main living framework.
- In May or June: enjoy the main flowering flush. This is the bit you protected over winter.
- After the first flowers fade: shorten spent flowering stems to healthy buds or a side shoot.
- During late summer: enjoy any second flush, then leave the plant largely alone as autumn arrives.
Group 2 plants can become top-heavy if they are never managed. The temptation then is to cut hard in winter, which does solve the height problem but sacrifices the early flowers. A gentler solution is to thin and shorten selected stems after flowering over a couple of seasons. You gradually bring the framework lower without cancelling the display altogether.
This group also benefits from sensible tying-in. New shoots are not always polite enough to go where you intended. Guide them onto wires, trellis or an obelisk while they are young and flexible, spacing them rather than letting them bundle into one rope. A more open framework makes it much easier to see what is alive when February arrives.
If you cannot remember whether a plant is Group 1 or Group 2, err on the side of caution over winter. A light tidy will not do serious harm. Hard pruning might. Then watch its flowering pattern next year and make a proper note. Gardening is allowed to be an experiment; you do not have to identify every clematis under interrogation before breakfast.
Group 3 Clematis: The Hard-Prune Champions
Group 3 clematis are the great reassurance of the clematis world. They flower from late June onwards on growth produced in the current season. Because the flowers are made on new wood, they can be cut back hard every year in February without losing the coming season's display. In fact, regular hard pruning is what keeps them vigorous and flower-filled from lower down.
These are the plants that often light up a garden later in summer, when many early climbers have finished their grand entrance and gone quiet. If your clematis begins flowering in July, August or later, it is a strong candidate for Group 3. The stems you are looking at in winter are last year's scaffolding, not a precious store of imminent flowers.
The basic job is straightforward. In February, cut all stems back to the lowest pair of healthy buds. This typically leaves the plant around 20–30 cm above ground level. In most parts of the UK, late February to early March is a useful window: the worst frosts are generally easing, but the plant has not yet made so much vigorous new growth that pruning becomes fiddly.
Look carefully for healthy buds before you cut. They may be small but should appear firm and promising rather than dry and collapsed. Cut just above a pair of buds, rather than leaving a long dead-looking length of stem above them. If one old stem is clearly dead all the way down, remove it. The plant will replace it from its base or lower growth points.
Why hard pruning works
- It directs energy into powerful new flower-bearing shoots.
- It helps keep flowers lower down rather than stranded at the top.
- It removes tired, tangled growth before the new season begins.
- It is the easiest annual clematis routine to remember.
What to watch for
- Do not mistake a May-flowering large-flowered hybrid for Group 3.
- Waiting too long can mean cutting around tender new shoots.
- A plant left unpruned for years may take time to rebuild a neat framework.
- Late winter, not autumn, is the main pruning moment.
Group 3 plants are often the ones people either fearlessly cut or fearfully never touch. The first approach is usually right. The second produces the classic clematis predicament: a woody, bare base and a cloud of flowers appearing somewhere near the gutter. Beautiful from a passing aircraft, perhaps, but not ideal on a garden arch.
Group 3 rule: low, clean and early
For a late-flowering clematis, cut every stem back in February to the lowest healthy pair of buds, usually leaving 20–30 cm of growth above the soil. It may look severe for a fortnight. By summer, it will have forgotten all about it.
After pruning, gently separate the remaining stems if they are tied around each other, then make sure the support is ready for the new season. A few horizontal wires or twine lines can be more helpful than a bare vertical trellis, as they give young shoots places to catch and spread. Clematis leaf stalks do the climbing, and they appreciate something slim enough to grasp.
There is no prize for cutting lower than necessary. The lowest healthy buds are your guide. If the lowest pair is a little above the soil, use it. If the plant has several good pairs of buds close to the base, choose the lowest sound pair. Pruning is a conversation with the plant in front of you, not an attempt to reproduce a diagram exactly.
The Plain Rule for When You Have No Idea What Group Your Clematis Is
Here is the rule worth writing on the shed wall, adding to a garden notebook or muttering quietly when someone hands you secateurs.
The plain clematis rule
If it flowers before June, do not prune it in winter. If it flowers from late June onwards, cut it hard to the base in February.
There are a few nuances, because plants are plants and do not always read the same calendar we do. But this simple rule protects the two most important situations. It stops you cutting away the flowering stems of a Group 1 clematis before it has had its spring moment. And it gives Group 3 clematis the hard annual prune they need to remain compact and productive.
What about a clematis with a heavy display in May or June and then another scattering of flowers in late summer? That is the Group 2 clue. Treat it gently in February: remove dead tips, preserve living stems and cut spent flowers back after the main early flush. If in doubt, a light tidy is safer than a hard cut.
The first year with an unknown clematis is therefore a fact-finding year. Observe it rather than trying to impose order immediately. When did its first flowers open? Were they clustered on older stems in spring? Did the plant carry on into late summer? Did it make a huge rush of new growth from low down before flowering?
| What you notice | Most likely group | What to do in February | What to do after flowering |
|---|---|---|---|
| Flowers open before June | Group 1 | Leave it alone apart from dead or damaged stems | Prune lightly only if it needs shaping or reducing |
| Large flowers in May or June, then another lighter flush later | Group 2 | Tidy lightly to healthy buds; preserve the main framework | Cut back spent flowering stems to encourage new growth |
| First flowers arrive from late June onwards | Group 3 | Cut hard to the lowest healthy pair of buds | Usually no major pruning is needed |
The phrase "do not prune" in the first half of the rule means "do not give it a routine winter prune". You can always remove a stem that is dead, snapped or clearly diseased. You can also deal with a stem that has become a trip hazard. The point is to avoid wholesale shortening of healthy, living old wood before an early-flowering clematis has used it.
Similarly, "cut it hard to the base" is shorthand rather than an invitation to attack blindly at soil level. Group 3 clematis should be cut to their lowest healthy buds, usually leaving 20–30 cm above ground. Those buds are the launch pads for the new shoots that will carry the flowers.
Sometimes an unknown clematis is simply too young or too sulky to give a clear flowering pattern. In that case, wait. Keep it well supported, do no more than light tidying, and let it show you what it does over a season. There is no shame in delaying a decision. A little patience is cheaper than losing an entire flowering display.
Side-by-Side: The Three Groups at a Glance
If you only keep one part of this guide, make it this section. The three groups are not three levels of gardening competence. They are simply three flowering schedules. Match the pruning to the schedule and the plant becomes much easier to manage.
| Pruning group | Typical flowering time | Where flowers form | When to prune | How hard? | Examples |
|---|---|---|---|---|---|
| Group 1 | February to May | Old wood | Only after flowering, and only if needed | Very light: remove dead, damaged or unwanted stems | Montana, alpina, armandii |
| Group 2 | Main flush in May and June; lighter flush in late summer | Old wood first, then new wood | Light tidy in February; shorten spent growth after first flush | Light in winter; selective after flowering | Large-flowered hybrids |
| Group 3 | Late June onwards | New wood | February | Hard to the lowest healthy buds | Late-flowering clematis |
What happens if you get it wrong? With Group 1, hard pruning in winter commonly means no spring flowers that year. With Group 2, a hard February prune usually removes the big May and June flush, leaving the possibility of only the later, lighter flowering. With Group 3, failing to prune does not generally stop flowering altogether, but it allows stems to become long and woody, with blooms creeping ever higher and the base becoming less attractive.
The good news is that pruning mistakes with clematis are nearly always temporary. A plant can regrow. Roots remain alive. Next year offers another opportunity. There are few gardening errors more common than treating every clematis as Group 3, and there are plenty of healthy clematis in British gardens that have survived exactly that treatment. They may have sulked for a season, but they recover.
A quick note on the calendar: weather shifts flowering by a week or two from one year to the next. The pattern matters more than one exact date. An established plant that reliably flowers well before summer is behaving very differently from one that waits until July.
Common Pruning Mistakes and How to Recover From Them
Clematis pruning inspires a particular kind of regret because the consequences may not become obvious until flowering time. You make a confident cut in February, forget all about it, then stand in front of a leafy but flowerless plant in May wondering why it has become so personally disappointing. Fortunately, the recovery plan is normally very simple.
Mistake 1: hard pruning a Group 1 clematis in February
The usual result is no flowers that spring. You have removed the old stems carrying the buds. It is frustrating, especially if the plant is a glorious early montana that normally turns a fence into a pink or white cloud. But the roots are generally fine, and new stems should grow during the season.
The recovery is to leave the plant alone for the rest of the year, except for tying in new growth where necessary. Do not keep cutting it back in an attempt to correct the mistake. Let those new stems develop, because they are the ones that will carry flowers the following spring. Once it has flowered, prune only after the display if it needs shaping.
Mistake 2: hard pruning a Group 2 clematis in February
This removes the wood that would have produced the main May and June flowering flush. The plant may still grow strongly, and it may offer some late-summer flowers on new growth, but the big early display will be greatly reduced or absent.
Again, the cure is mostly patience. Tie in the new shoots, let the plant develop, and make a note that it is Group 2. Next February, prune lightly instead. The following spring should restore the proper early show. One lost season feels enormous when you have been looking forward to a particular flower, but it is not permanent damage.
Mistake 3: never pruning Group 3
This is the opposite problem. A Group 3 clematis left untouched for several years often develops a mass of woody stems, dead material near the base and flowers appearing only at the outermost tips. The plant may look impressively large, but it is often not doing much for the lower half of a fence or obelisk.
Cut it back hard in February to the lowest healthy buds. The first spring after a rescue prune can feel slow, particularly if there is a lot of old framework to replace, but the plant should respond with fresh shoots. Support those shoots as they grow, and return to annual February pruning thereafter.
When in doubt, do less. A cautious light prune is rarely disastrous. A hard prune is right for Group 3, but it is the one decision most likely to cost flowers if the plant has been misidentified. Observe for a season if you are uncertain.
Mistake 4: pruning at the wrong time because the plant looks untidy
Late autumn is an understandable danger point. The garden is being put to bed, there are leaves to clear, pots to shift and stems to cut. But an untidy clematis is not necessarily a clematis that needs pruning. Group 1 and Group 2 plants can look scruffy in winter whilst still carrying next year's flowers.
Rather than cutting, loosely tie in stems that are likely to catch the wind. Remove anything definitely broken. If a plant is smothering a path or doorway, shorten the offending stem only as much as needed, ideally to a side shoot. Then return to the job at the correct pruning time.
Good recovery habits
- Label the plant once you have worked out its group.
- Record its first flowering month in a notebook or phone.
- Tie in new shoots so the framework is easier to read next winter.
- Give a wrongly pruned plant time to make new growth.
Things that make it worse
- Repeatedly cutting new growth because the plant looks bare.
- Assuming leafless means dead without checking for buds.
- Trying to make a climber look like a clipped hedge.
- Giving every clematis the same annual treatment.
One final comfort: clematis are not delicate ornaments that collapse at the sight of secateurs. They are tough climbers with resilient root systems. Correct pruning gives the best display, certainly, but an imperfect cut is a lesson rather than a catastrophe. Most gardeners who now prune clematis with confidence have previously cut one at entirely the wrong moment. It is practically part of the apprenticeship.
Practical Kit and Technique: Getting the Cut Right
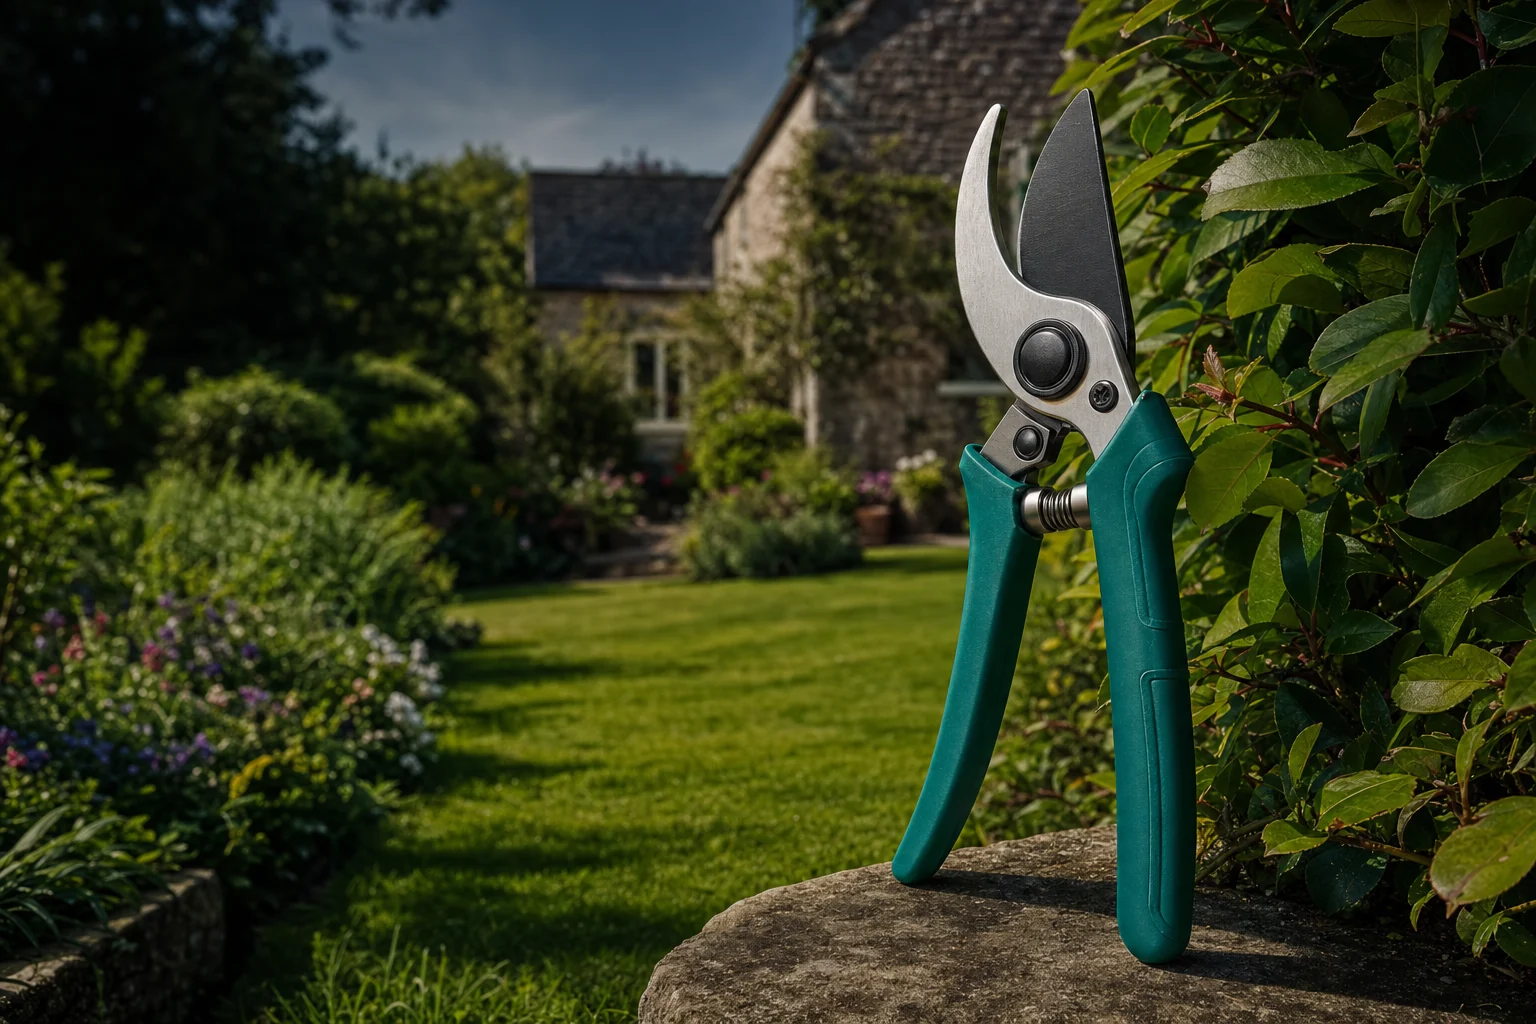
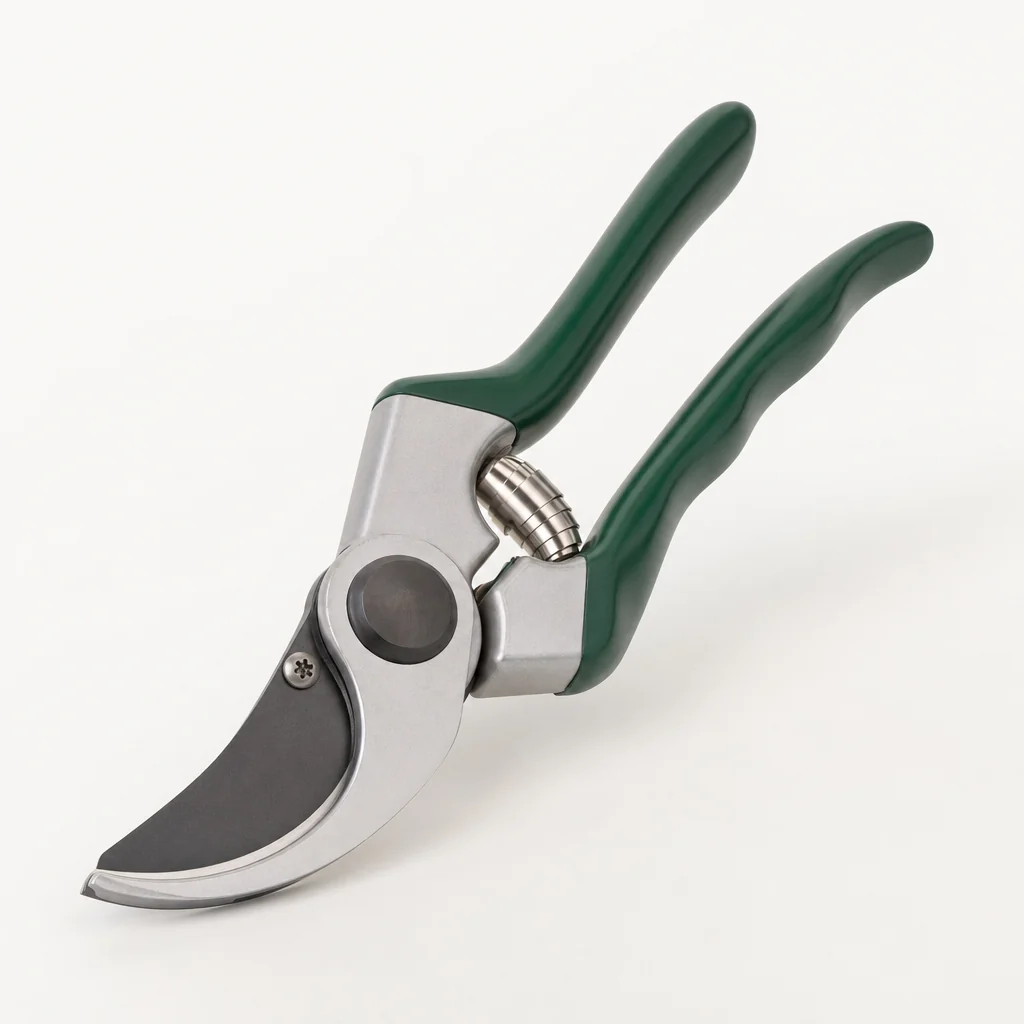
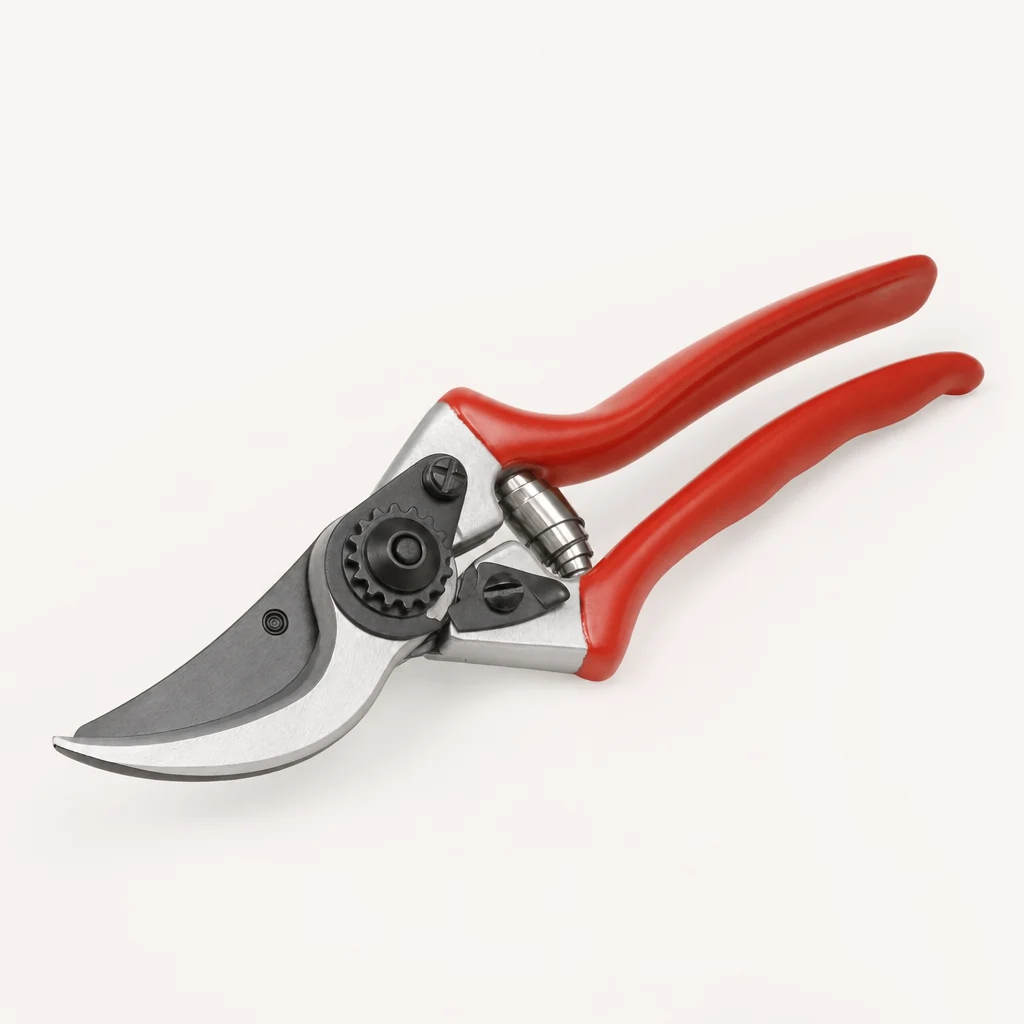
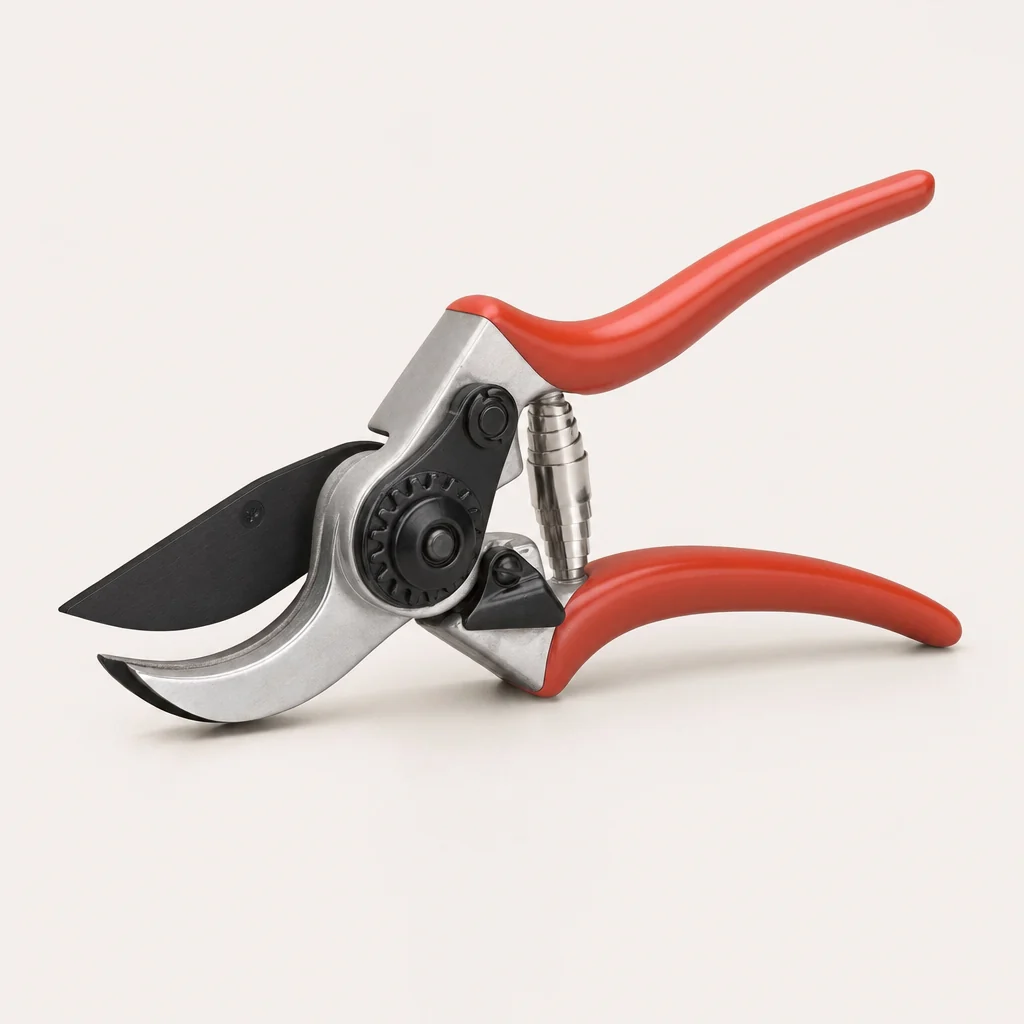
You do not need a shed full of specialist equipment to prune clematis well. A good pair of sharp bypass secateurs will do almost every job. Bypass secateurs work with a scissor action: one sharp blade passes closely by the other, producing a clean cut. That is preferable to crushing a live clematis stem with an anvil-style tool.
For old, woody stems that are genuinely too thick for secateurs, use a clean pruning saw rather than forcing the cut. For most annual work, though, secateurs are enough. The more important thing is sharpness. A clean slice heals better than a ragged, crushed end, and it is much easier to place accurately above a bud.
Use bypass secateurs
They make a clean scissor-action cut through living stems. Check that the blades are sharp and that the tool opens and closes smoothly before you start.
Keep blades clean
Wipe blades with diluted bleach or surgical spirit between plants. Clematis wilt, caused by Calophoma clematidina, can be spread on contaminated tools, so this small habit is worthwhile.
Cut just above healthy buds
Leave roughly 5 mm of stem above a pair of healthy buds. Too close and you may damage them; too far away leaves a dead stub that can become an entry point for disease.
Work slowly, stem by stem
Follow each stem down before cutting it. Clematis growth tangles enthusiastically, and a moment's tracing can prevent you removing the wrong piece of living framework.
When deciding where to cut, find a healthy pair of buds facing in a useful direction if possible. Make the cut just above them, leaving around 5 mm of stem. Do not leave a long stub waving above the buds. It will die back, look scruffy and can hold moisture. Equally, do not cut so close that you nick the bud pair you were trying to preserve.
Start with the obvious material: stems that are dead, damaged, crossing awkwardly or detached from their support. Then apply the rule for your group. This sequence is helpful because it clears the view. A clematis that initially looks like an impenetrable nest of stems becomes much more understandable once the dead and broken pieces are removed.
Wear gloves if you prefer, but do not use thick gloves that make it impossible to feel what you are doing. Clematis stems can be surprisingly brittle, especially in cold weather. Support the stem with one hand whilst making the cut with the other, and avoid pulling tangled stems sharply away from the trellis.
After pruning, collect fallen stems and leaves from around the base, particularly if there has been any sign of disease. Check ties and supports, loosening anything that is constricting old growth. Then give the plant room to begin again. For Group 3, that means watching fresh shoots emerge from the lower buds. For Groups 1 and 2, it means waiting for the framework you preserved to prove why you left it there.
Quick Clematis Pruning Questions
Remove a broken, diseased or dangerous stem if necessary, and tie in loose growth. Avoid major routine pruning now, particularly if you do not know the group. The main pruning season for Group 3 is February, whilst Group 1 is trimmed after flowering and Group 2 receives only a light February tidy.
Not necessarily. Many clematis are deciduous and look entirely lifeless in winter. Scratch very lightly at an inconspicuous patch of stem or look for firm buds. Green beneath the outer layer, or plump buds on the stem, are encouraging signs.
You can, but expect to lose or greatly reduce the main May and June flowering display that season. If possible, lower the plant gradually by shortening selected stems after flowering over more than one year. If it has become completely unmanageable, a renovation cut may be the sensible compromise.
This is especially common with an unpruned Group 3 plant. The older framework becomes woody and the active growth moves upward. Hard pruning to the lowest healthy buds in February usually brings flowering growth back down.
It is optional. Removing spent flowers can make the plant look tidier, and on Group 2 it fits naturally with shortening stems after the main flush. But deadheading is not a substitute for group-appropriate pruning, and a healthy clematis does not need every faded flower removed.
The clematis pruning rule to remember
Do not let three pruning groups turn one of the garden's best climbers into a source of anxiety. Watch when your clematis flowers. Early flowerers keep their stems through winter. Large-flowered repeat flowerers get a gentle February tidy. Late flowerers are cut hard in February to their lowest healthy buds.
If the label has gone missing, use the plain rule: flowers before June means no winter prune; flowers from late June onwards means a hard February prune. Make a note when it blooms, and by next year you will know exactly what to do.